Quick answer: A chainsaw that curves through a cut instead of running straight is telling you the two sides of the chain are not cutting equally. One side is taking a bigger bite than the other. In the large majority of cases the cause is a hand-filed chain where one row of cutters ended up longer or sharper than the other. Confirming that with a simple flip-the-bar test before buying parts saves both money and a chain that gets filed crooked twice.
A crooked cut may involve chain wear. See the tension guide for bar-fit checks.
| What you notice | Likely area | Next safe check |
|---|---|---|
| Pull began after sharpening | Uneven cutter length or angles | Have both sides filed evenly with the correct file guide |
| Chain tips or rocks in the groove | Worn or damaged bar rails | Ask a saw shop to measure the bar and groove |
| Sudden severe pull or binding | Damage, mounting, or chain fault | Stop cutting and arrange professional inspection |
| Observation | Possible meaning | Next step |
|---|---|---|
| Drift began after filing | Cutter length or filing angle | Do not cut before correction |
| Drift follows a flipped bar | Guide-bar rail wear | Service or replace damaged bar |
| Chain binds or runs unevenly | Tension, chain match, sprocket | Stop if damage or binding remains |
| Cut pinches despite straight chain | Wood support or cut closure | Stop before forcing trapped bar |
Start with the chain, since it causes most crooked cuts
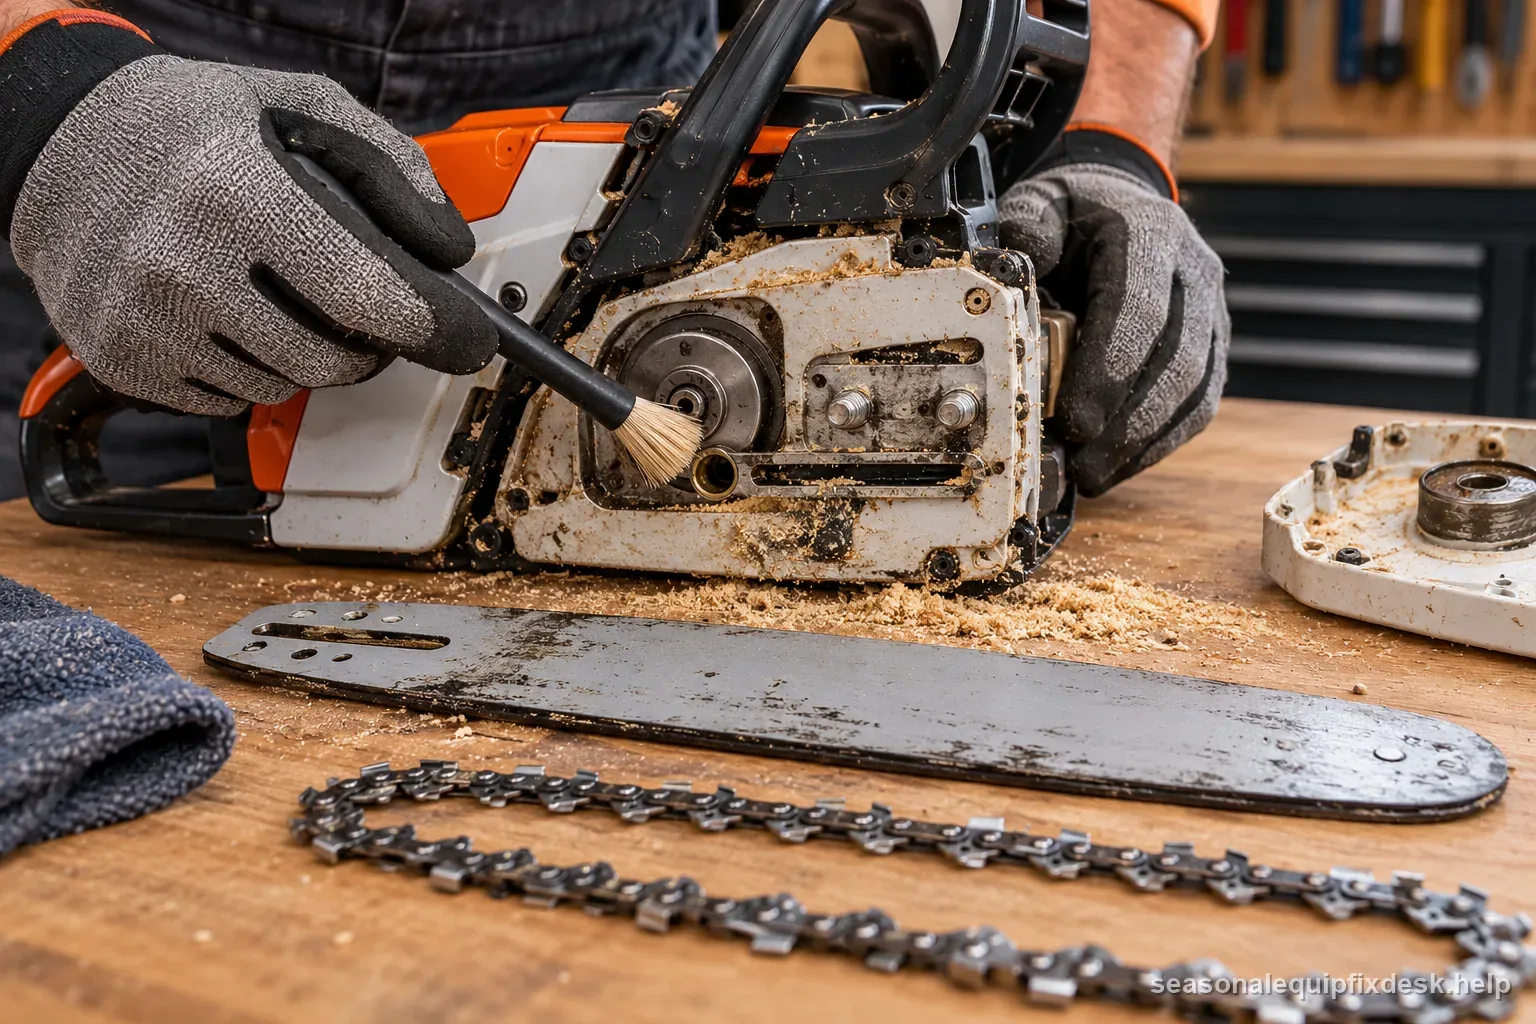
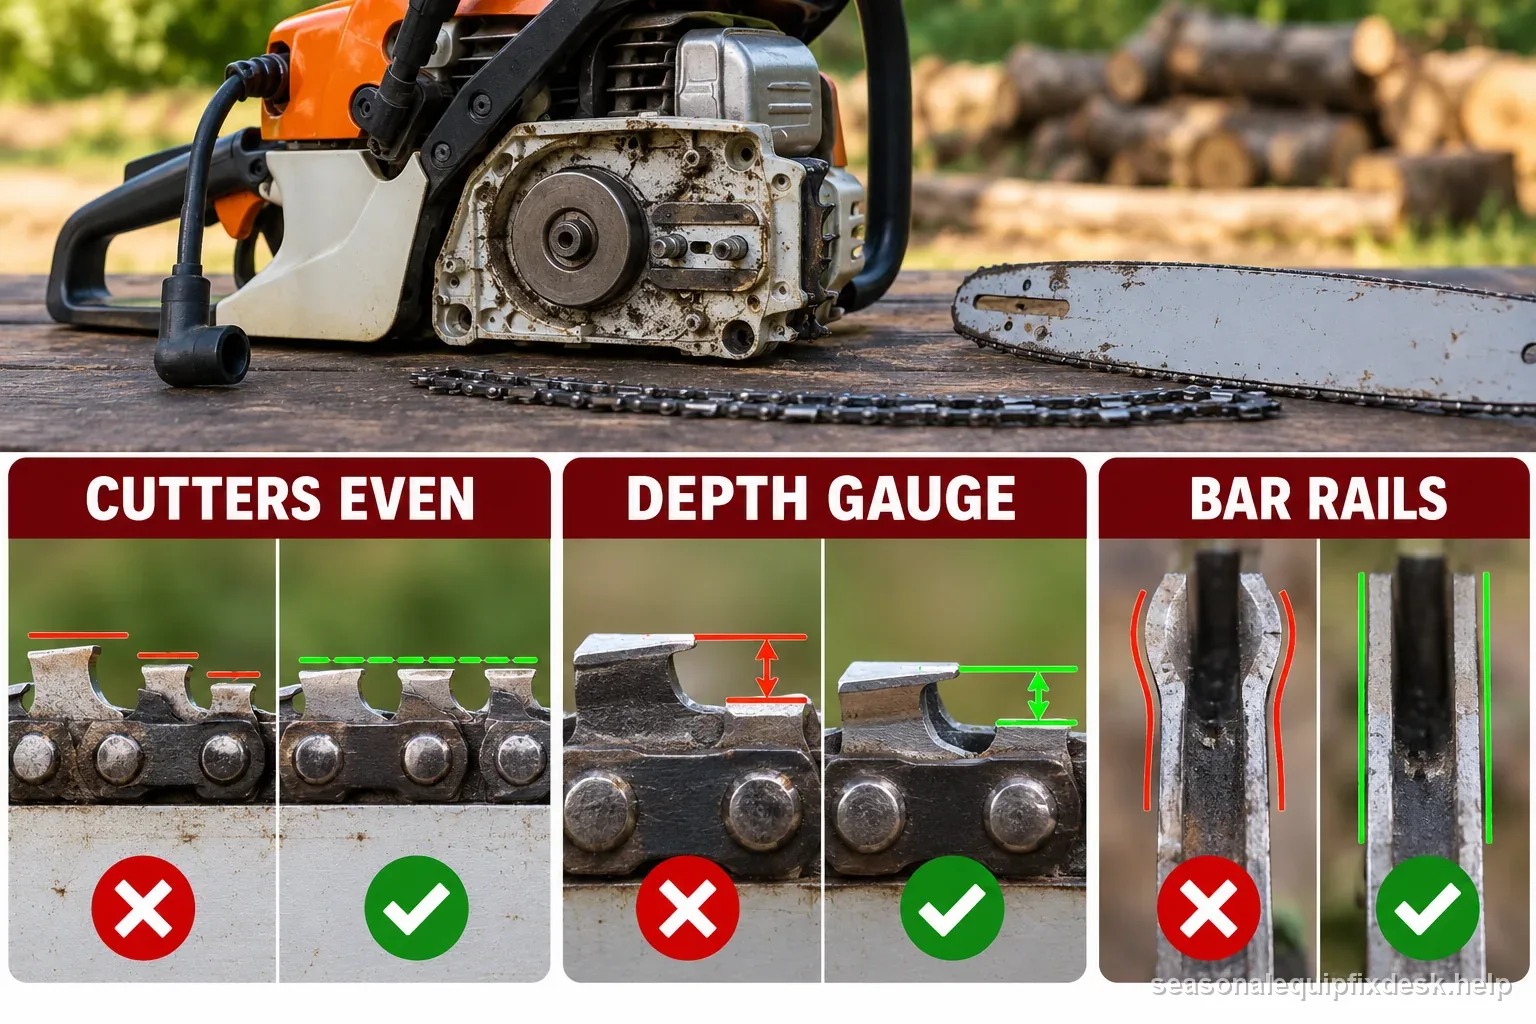
With the saw off and its power source removed, inspect cutters on both sides under good light. Compare length, angle, and rounded or chipped edges. A visible difference points to uneven filing or damage. Use the exact chain identification and maker instructions before choosing a file; never test sharpness with a bare fingertip.
With the chain stopped and the saw off, run a finger carefully along a few teeth on each side. Compare how aggressively each one catches on a fingernail or a scrap of wood. It is a rough test, not a measurement, but a clear difference between the two sides usually confirms what a visual check already suggested.
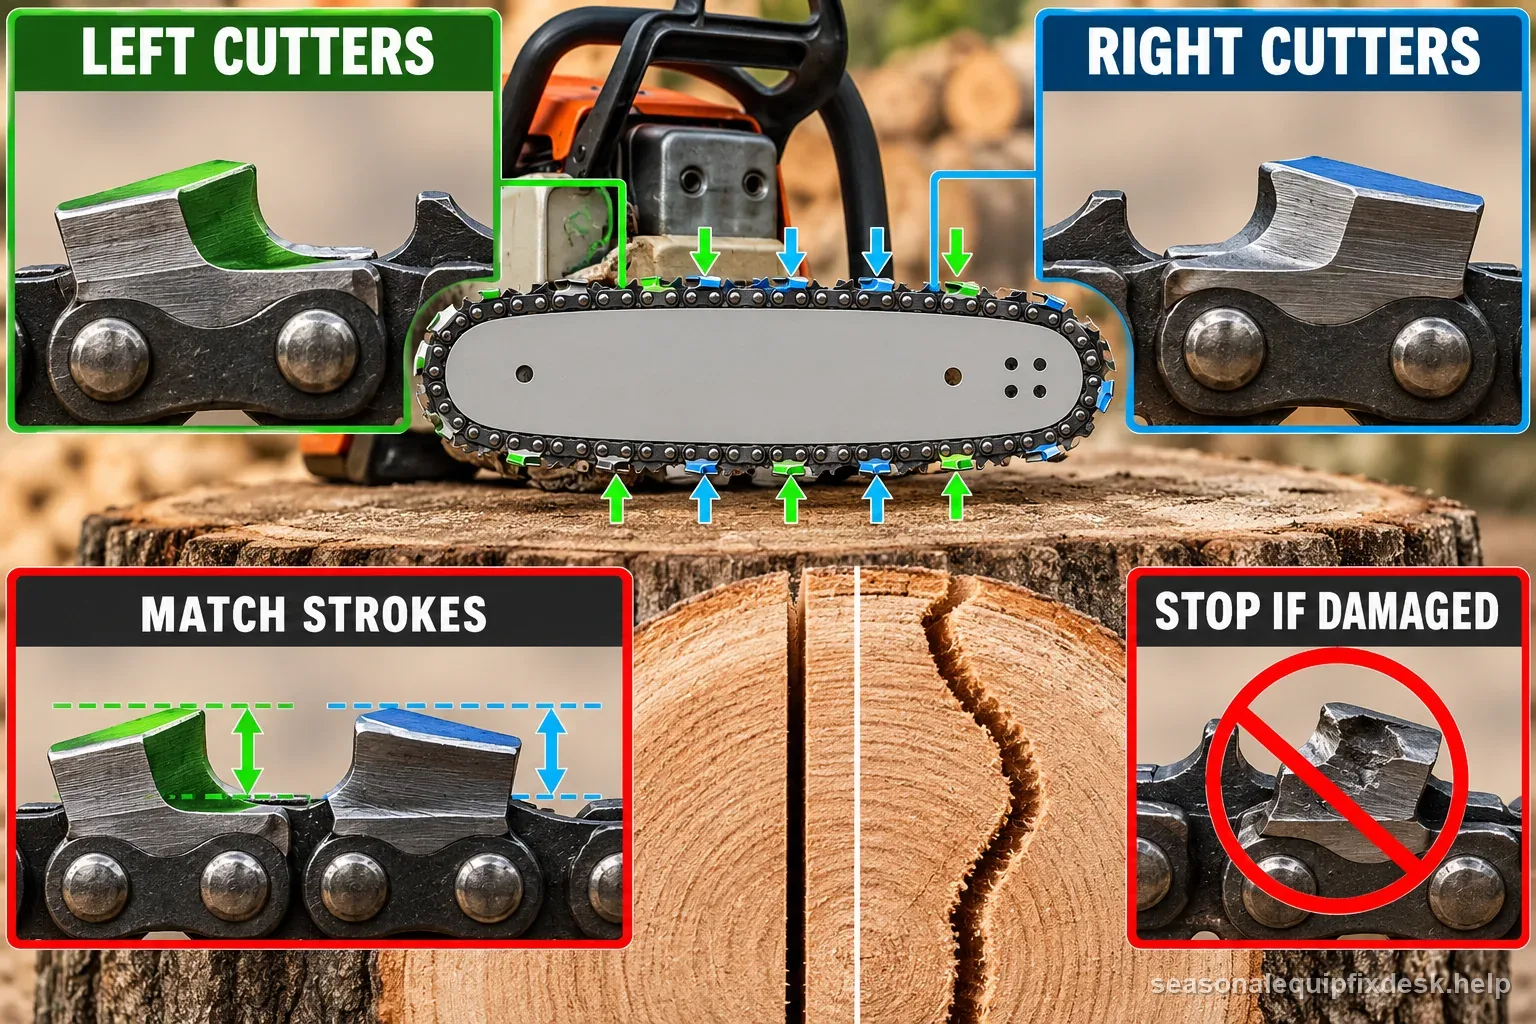
Fix uneven sharpening by counting, not guessing
Sharpen to the chain maker’s file size and angle, using a guide when available. Compare the left and right rows after each short sequence rather than relying on feel. A damaged or much shorter cutter may not be recoverable with ordinary filing; do not keep removing material to force a match. Have a shop assess it if the manufacturer’s limit or your file setup is unclear.
A filing guide helps hold the maker’s angle consistently. The goal is matching cutter geometry within the chain maker’s limits, not maximizing sharpness by eye.
| Cutting clue | What to compare | Why it changes the cut |
|---|---|---|
| Chain is sharp but feeds aggressively | Depth gauges against the maker gauge | Uneven depth can make cutters take different bites |
| One side binds while the other clears | Cutter damage and side-to-side filing | A damaged row can pull the bar off line |
| Fine dust despite correct tension | Cutter sharpness and depth-gauge setting | Dull cutters scrape rather than form healthy chips |
| Depth gauge is below the maker spec | Stop and reset with the correct gauge | Excessive depth can increase kickback risk |
Depth gauges (rakers) can throw off the cut too
Each cutter has a depth gauge, also called a raker, that limits chip depth. Uneven heights can make one side bite differently. Check them only with a gauge matched to the chain and follow the maker’s filing instructions. Do not freehand the height or round the edge unless the chain maker’s procedure calls for it.
Do not file depth gauges lower than the exact chain maker specification. A lower gauge permits a deeper bite and can make the saw grab, increasing kickback risk. Use a gauge matched to the chain and follow its manual. If you cannot identify the correct procedure, stop and ask a saw shop. Do not apply one generic clearance value to every chain.
The flip-the-bar test separates a chain problem from a bar problem
If a careful, evenly-counted sharpening does not fix the pull, stop suspecting the chain and start suspecting the guide bar. Guide bars wear unevenly when they always run the same side up. The bottom rail carries most of the load during a typical cut, while the top rail sees less wear. Over time that turns a straight bar into one with a slightly sloped rail. A sloped rail steers the chain off-center no matter how well it is sharpened.
Flip the bar over (swap which rail faces down) and make a few test cuts. If the saw now pulls the opposite direction, the bar's worn rail was the cause. If it still pulls the same direction after flipping, the chain or an unevenly worn drive sprocket is still the more likely culprit. Give it another look before you spend money on a new bar.
| What changed | First compare | Why it matters |
|---|---|---|
| Began after hand sharpening | Cutter length and angles on both sides | Uneven cutters remove wood at different rates |
| Began after a strike or bind | Chain damage and guide-bar rails | Impact can bend or spread the bar rails |
| Chain pulls sideways by hand | Rail wear, groove fit, or chain/bar match | A misfit can prevent straight tracking |
| Still crooked after a correct chain setup | Bar rail condition and sprocket alignment | Have a saw shop measure worn or bent parts |
Inspecting the bar rails and body for damage
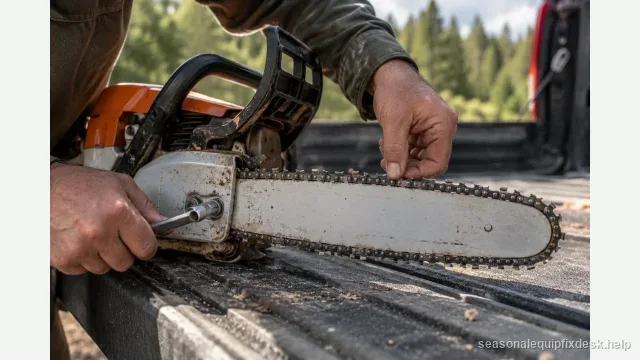
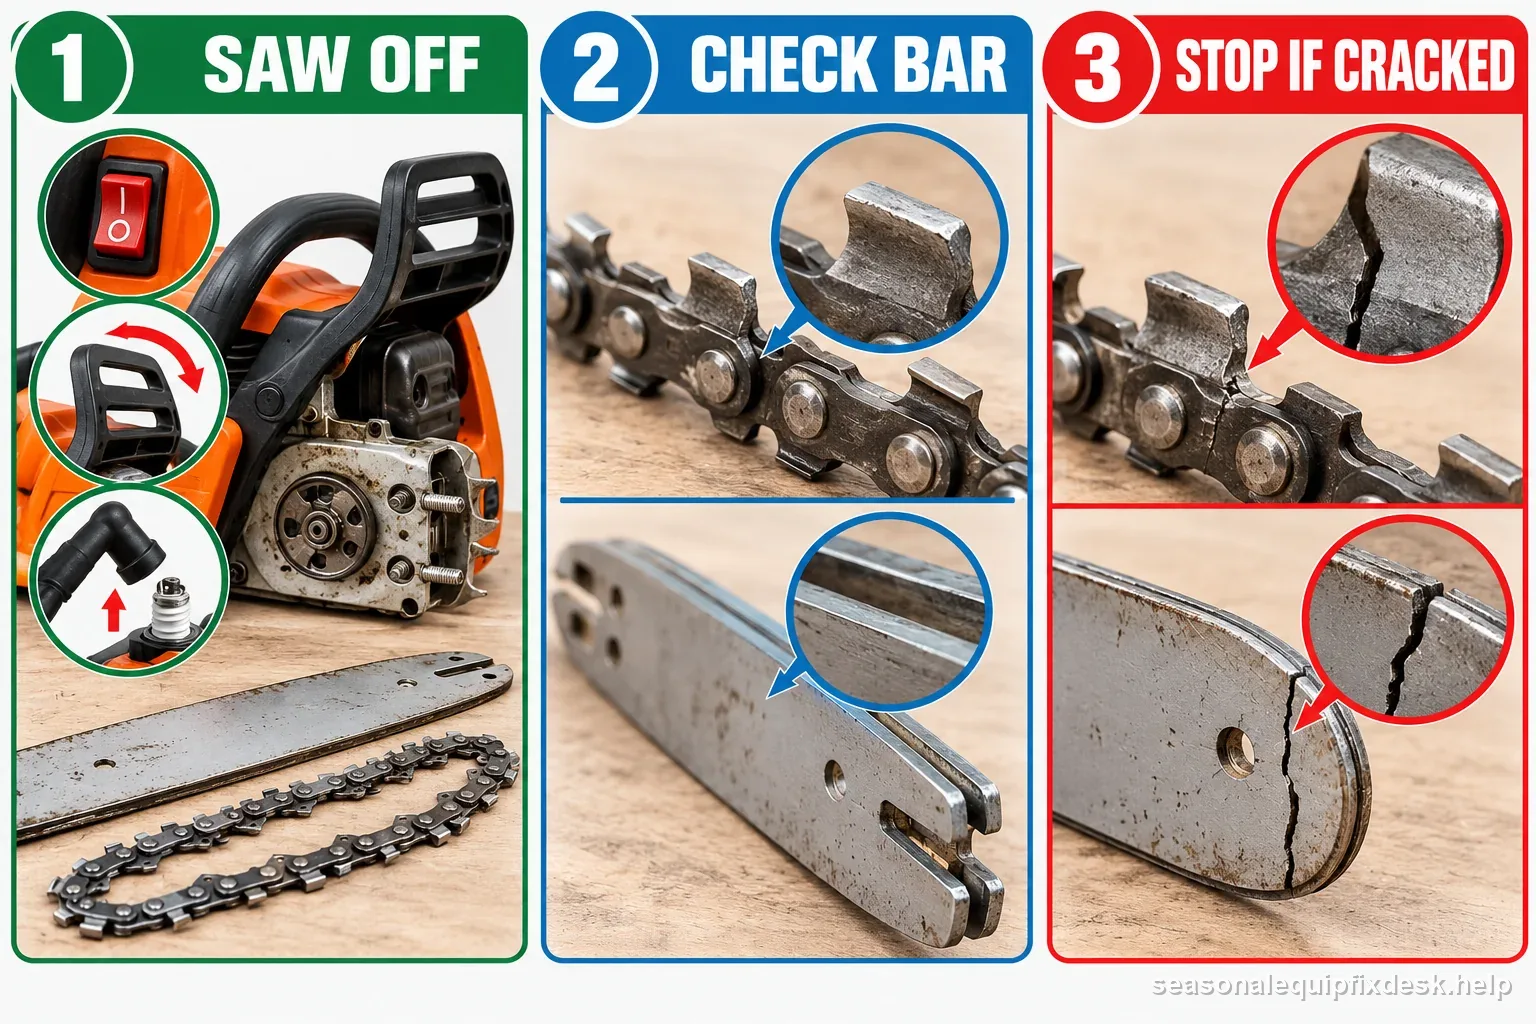
With the chain removed and power isolated, sight along both rails for uneven wear, flare, or a visible bend. Compare the groove and bar markings with the chain maker’s limits. A bent bar or rails outside spec should be replaced or assessed by a service shop; repeated filing cannot correct a bent body.
A bar with uneven rail wear can sometimes be dressed back closer to square with a flat file. But a bar that is bent, or one with rails worn past the manufacturer's minimum, should be replaced instead of repeatedly compensated for with sharpening tricks.
Rule out the drive sprocket and a mismatched chain
A worn sprocket can create uneven chain travel. With the power source removed, check only the visible teeth for obvious hooking or damage. Confirm chain pitch and gauge against the bar and sprocket markings. If parts do not match or the drive looks damaged, stop and use a saw shop rather than running the chain.
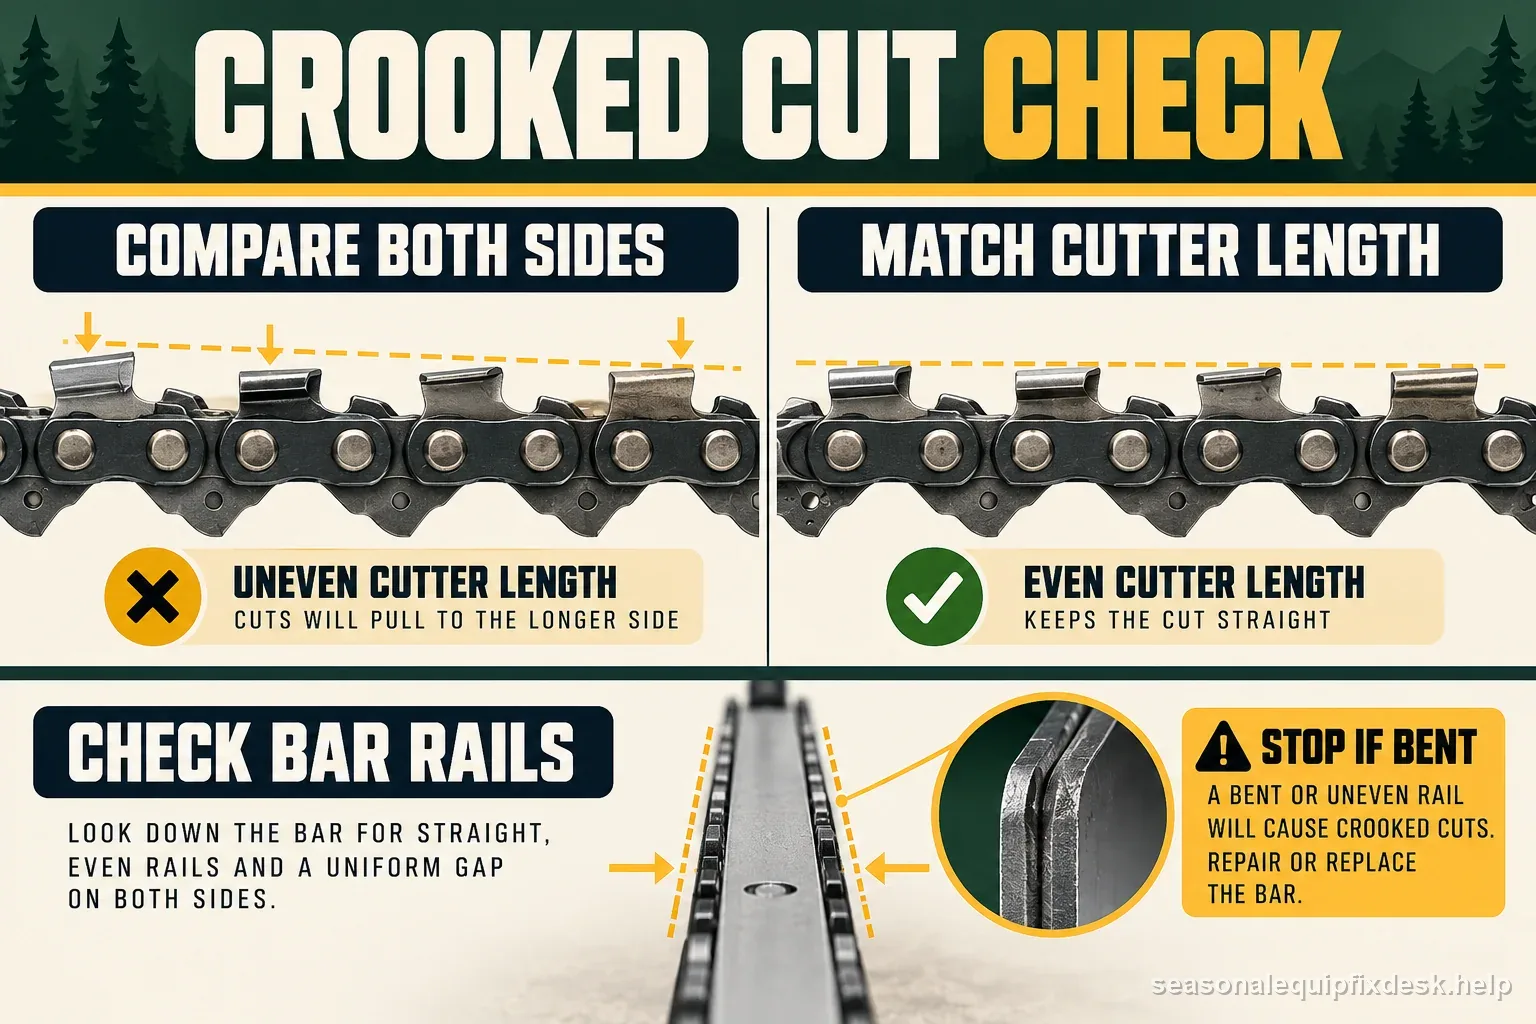
| What changed | Record this | It helps narrow |
|---|---|---|
| Cut began curving after sharpening | Which side and whether lengths differ | Uneven cutter filing |
| Bar was flipped or replaced | Rail condition and chain fit | Bar wear or mismatched components |
| Chain binds or pulls by hand | Whether the saw is fully isolated | Damage or chain fit needing service |
| Crooked after correct chain and bar checks | Model and exact cut behavior | Shop inspection of drive alignment |
Set the chain tension before you blame the saw
A chain that is too loose can sag out of the bar groove and wander in the cut. One that is too tight drags and heats the bar. With the saw off and the chain cool, the chain should sit snug against the underside of the bar and still pull around freely by hand. Adjust it, then make a test cut before you change anything else.
New chains stretch during their first few cuts, so check the tension again after the first tank of fuel or the first battery charge. A chain expands as it heats up in use, so never set the tension right after cutting. Let it cool first.
Two illustrative inspection logs
These are sample observations, not chain tolerances. Do not file to the sample values. Use the maker’s specification for the exact chain.
Example 1: cutter lengths differ
With the saw disabled and chain cool, a shop record notes 12 left cutters averaging 5.6 mm and 12 right cutters averaging 5.3 mm. That 0.3 mm difference is an observation, not a universal failure threshold. The next step is to identify the chain and compare it with the maker’s filing guidance.
Example 2: the pull changes after bar orientation changes
A trained operator records a rightward drift on one controlled cut, stops the saw, isolates power, and flips the bar as its manual allows. A second comparable cut drifts left. That two-cut change supports a bar-wear check, but does not prove the bar is the only cause. If the operator is not trained or the chain/bar shows damage, stop and use a saw shop.
- Initial symptom and conditions
- Controls, settings, and supply checked
- Inspection finding before adjustment
- Single change made and result
- Any stop condition or unresolved fault
The order that finds the cause fastest
- Compare both rows of cutters by eye and by feel for a length or sharpness difference.
- Re-sharpen with a matched stroke count on each side, using a filing guide if you have one.
- Check every raker against a depth gauge tool and correct any that sit noticeably taller or shorter than the rest.
- Make a test cut. If the pull is gone, you are done. If it remains, flip the bar and cut again.
- A pull that changes direction after flipping the bar points to the bar's worn rail. A pull that stays the same direction points back to the chain or the drive sprocket.
- Inspect the bar rails and body for wear, a bent section, or damage that filing cannot correct.
Before your hands go anywhere near the chain
Keep the chain brake engaged and the saw off, with the spark-plug lead pulled or the battery removed, for every step of this inspection. Wear cut-resistant gloves while handling the chain; the edges stay sharp enough to cut even when the saw is off. If the saw still pulls hard after the chain, raker, and bar checks, or the pull is severe enough that you fight for control, take it to a saw shop. Ask them to look at the sprocket, clutch drum, and bar mounting instead of continuing to guess.