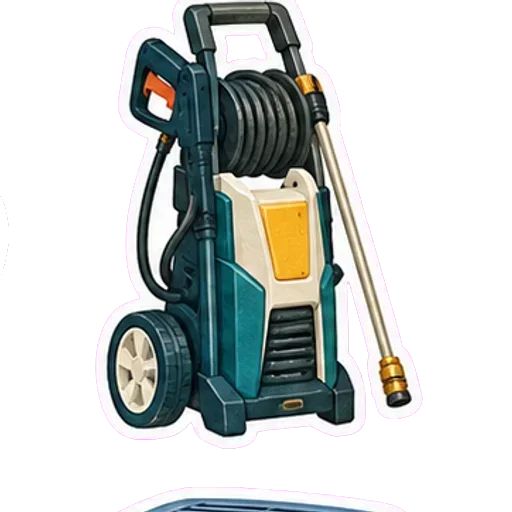
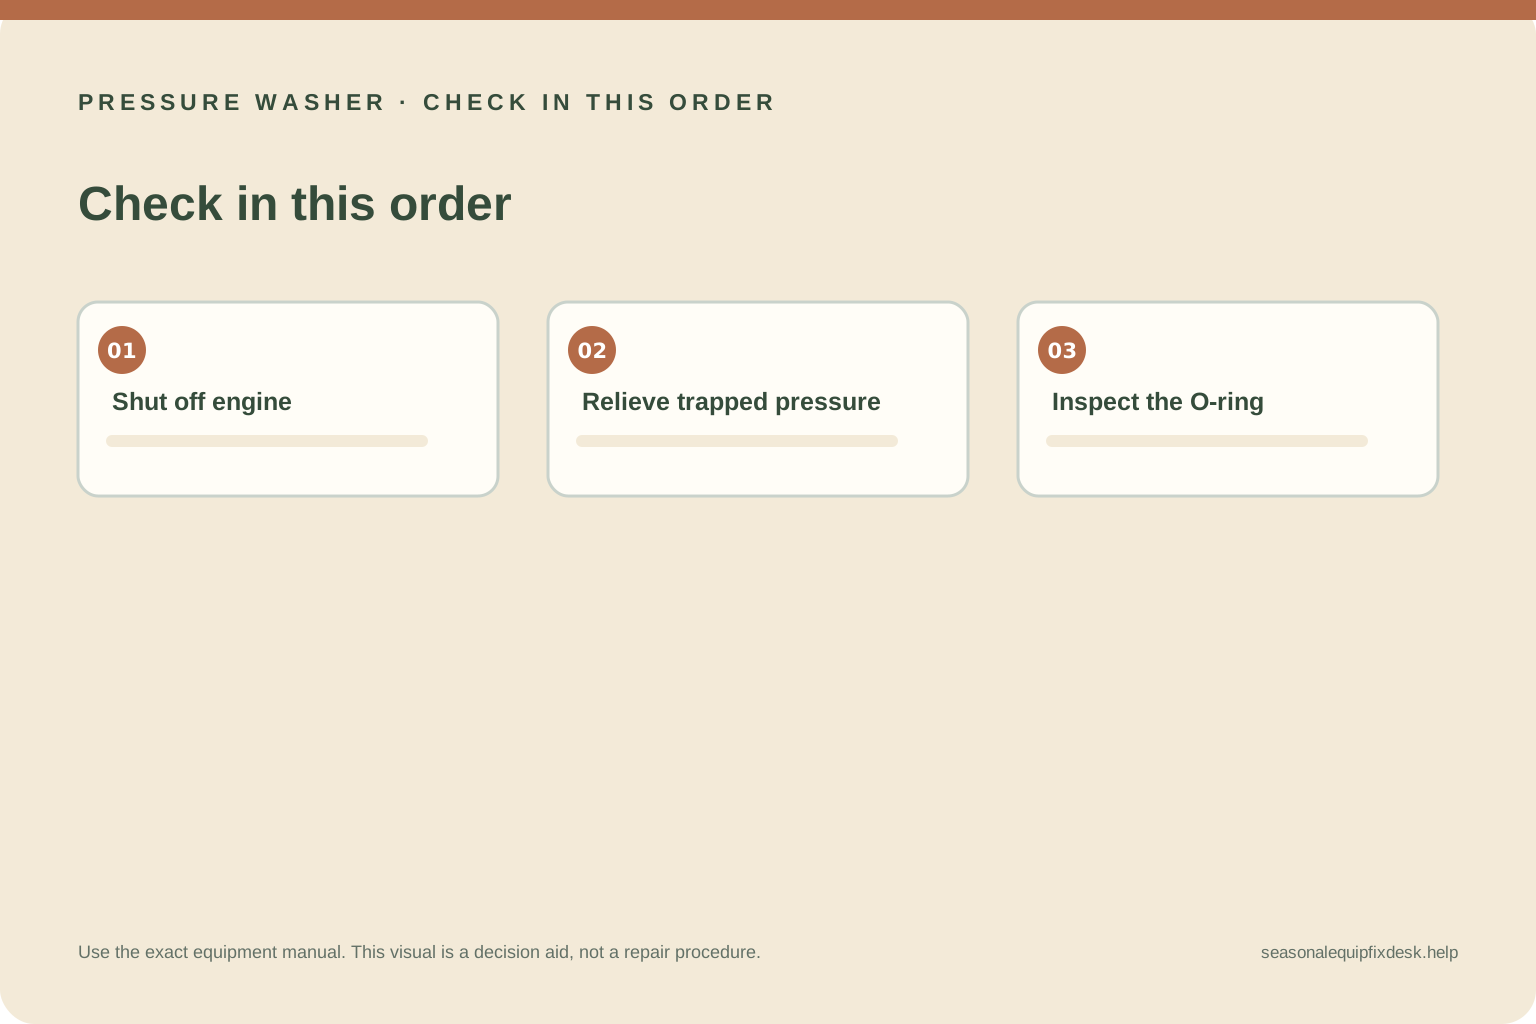
Quick answer: Switch the pressure washer off, shut off the water, point the gun in a safe direction, and squeeze its trigger to release stored pressure before touching a connection. Find whether water comes from the gun-to-wand joint, a hose fitting, the hose itself, or the pump. A damaged high-pressure hose or leaking gun body should be replaced or serviced, not patched. Follow the exact model manual for seals and fittings.
A small-looking leak can still be dangerous when water is under pressure. Never run a finger over a suspected leak or tighten a fitting while the machine is operating. High-pressure water can penetrate skin. If anyone may have an injection injury, seek emergency medical care immediately, even if the wound looks minor. Keep bystanders clear while you shut down and depressurize the system.
Locate the leak without running the washer
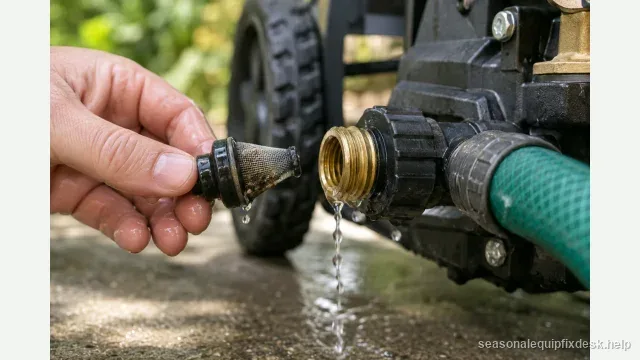
With the engine or motor off and pressure relieved, dry the outside of the fittings with a cloth. Trace the path from the machine outward: garden-hose inlet, pump outlet, high-pressure hose, gun inlet, gun body, and wand coupling. A drip at the collar can travel along the hose and make the source look farther away. Do not reconnect power merely to watch a leaking joint spray.
Check the model label and the manual before removing a connector. Pressure washers use different thread sizes, quick-connect styles, seals, and pressure ratings. A coupling that looks similar may not lock or seal correctly. Take a photo of the fitting and note the model number before ordering parts. Simpson’s troubleshooting pages distinguish a loose connection or damaged O-ring at the gun/wand joint from a hose or pump leak; use that as a clue, then follow your washer maker’s instructions.
Inspect a gun-to-wand or hose fitting
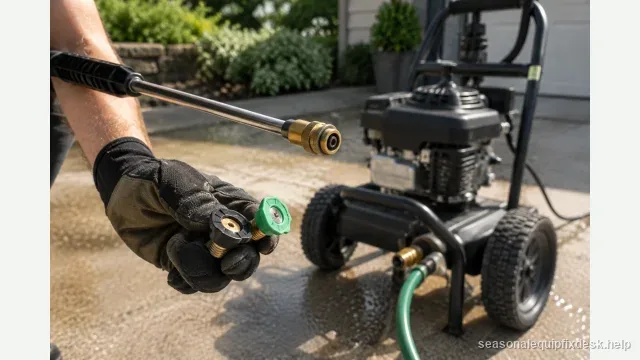
After pressure is relieved, inspect the visible connector for grit, cross-threading, a loose collar, or a flattened, split, or missing O-ring. Do not use pliers to force a quick-connect or grind a fitting to make it fit. If the manual identifies a user-replaceable seal, install the exact compatible size and material. Keep the sealing surface clean and use only the lubricant the manufacturer specifies. Simpson recommends checking the O-ring and connector at the spray-gun and wand joint; other brands may use a different arrangement.
Seat the joint squarely and lock the collar as the manual shows. If the connection still rocks, will not lock, or leaks after a correct replacement seal, stop. The fitting or mating surface may be damaged. Do not add extra O-rings, household tape, glue, sealant, or a hose clamp to a high-pressure connection. Those fixes can prevent the connector from locking and can fail suddenly.
Tell a seal leak from a failed hose or gun
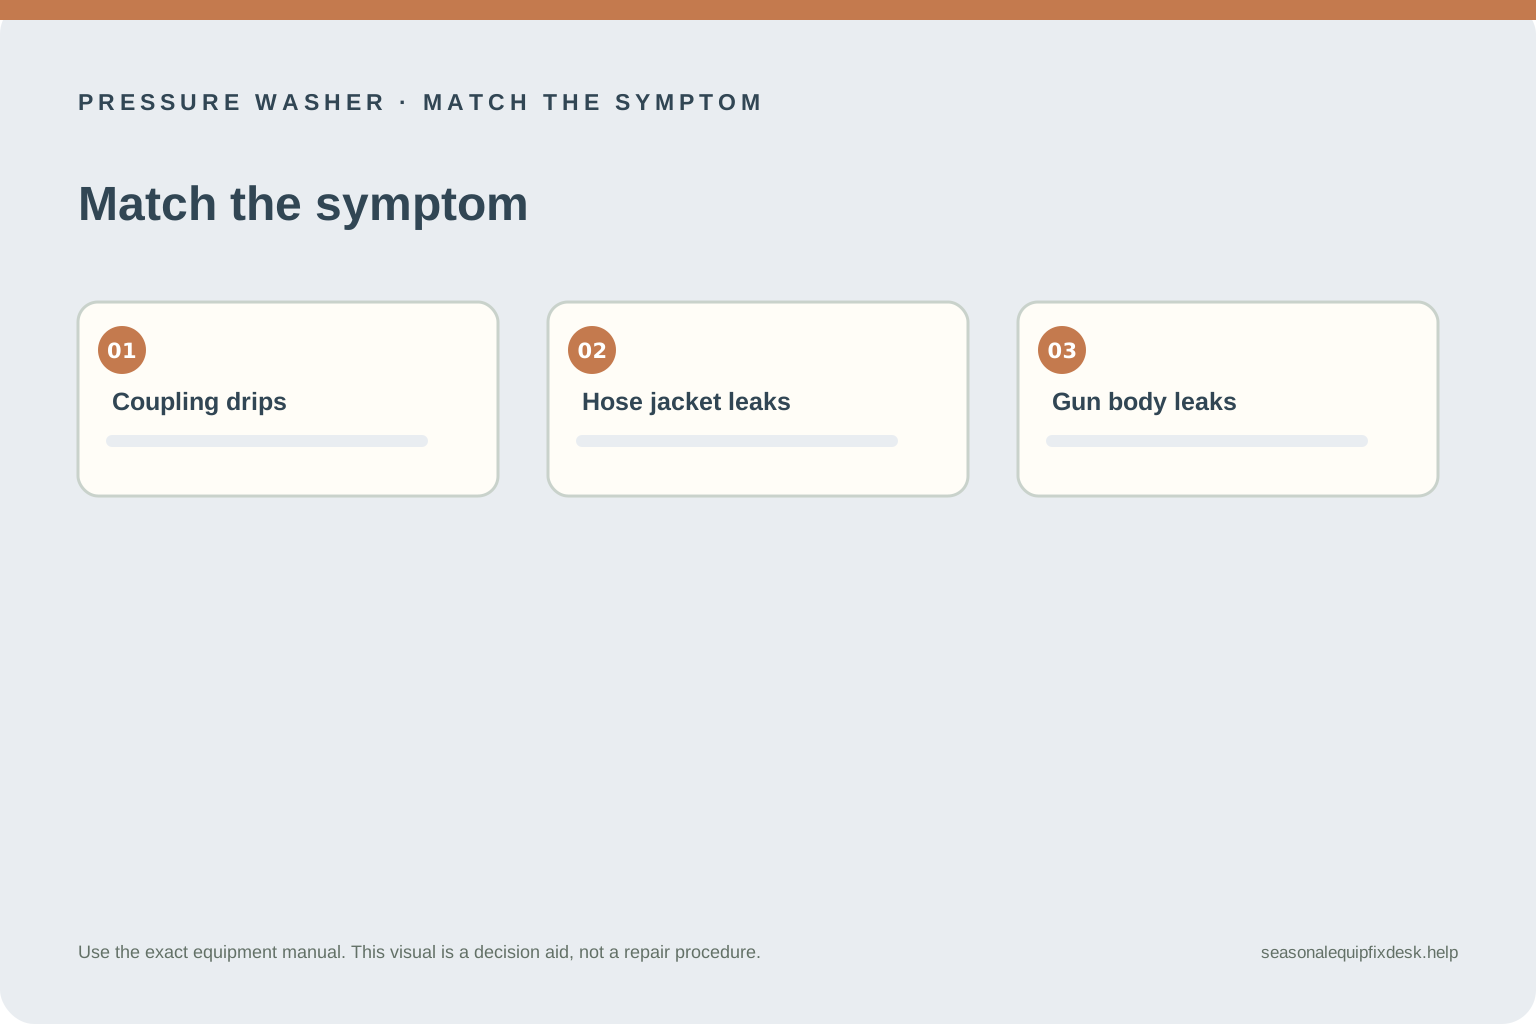
| Where water appears | Possible cause | Safer next step |
|---|---|---|
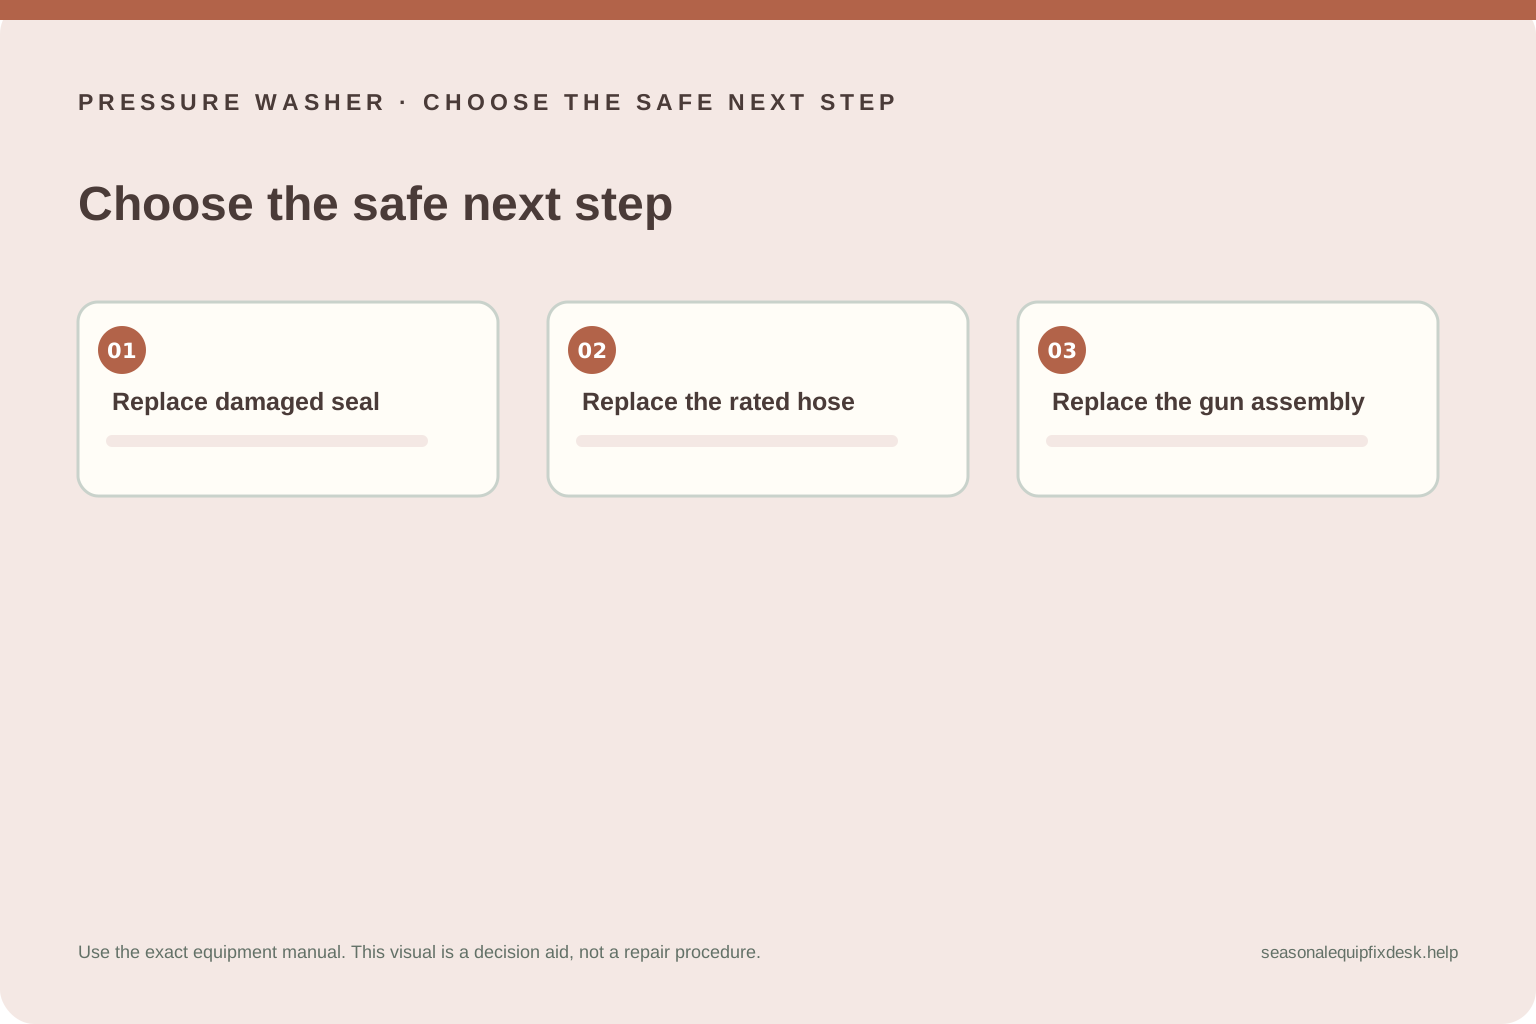
| Gun-to-wand collar | Loose connection or damaged O-ring | Depressurize, inspect the correct seal, follow the manual |
| Along hose jacket | Cut, blister, split, or failed crimp | Stop using and replace with a properly rated hose |
| Gun body or trigger housing | Cracked body or internal failure | Replace the assembly or use authorized service |
| Pump body or beneath machine | Loose fitting, seal failure, or freeze damage | Do not open the pump; arrange qualified service |
A leak in the hose jacket, a bulge, exposed reinforcement, a damaged crimp, or a stream from the gun body is a stop-use condition. Never patch, tape, splice, or clamp a high-pressure hose. Simpson explicitly says to replace a leaking high-pressure hose with a hose rated for the machine rather than repair it. Do not substitute a garden hose or a hose that only fits the connector.
Retest only after the correct repair
Reconnect the approved components while the washer is off and pressure-free. Confirm that the connector locks fully and that the hose routing is not twisted, stretched, or rubbing a sharp edge. Turn on the water supply and purge air only as the manual directs. If the model manual permits a brief operating check, stand clear, aim the gun into a safe open area, and look for leaks without touching the fittings. Shut down and depressurize again before any adjustment.
If water appears at the same place, the joint shifts, the trigger sticks, pressure pulses unexpectedly, or the pump itself leaks, turn the machine off and stop testing. A pressure washer can continue to cycle or hold pressure after the motor stops. Follow the manual’s shutdown sequence every time. Do not remove the pump cover or gun housing to look for an internal seal.
Check for cold-weather or storage damage
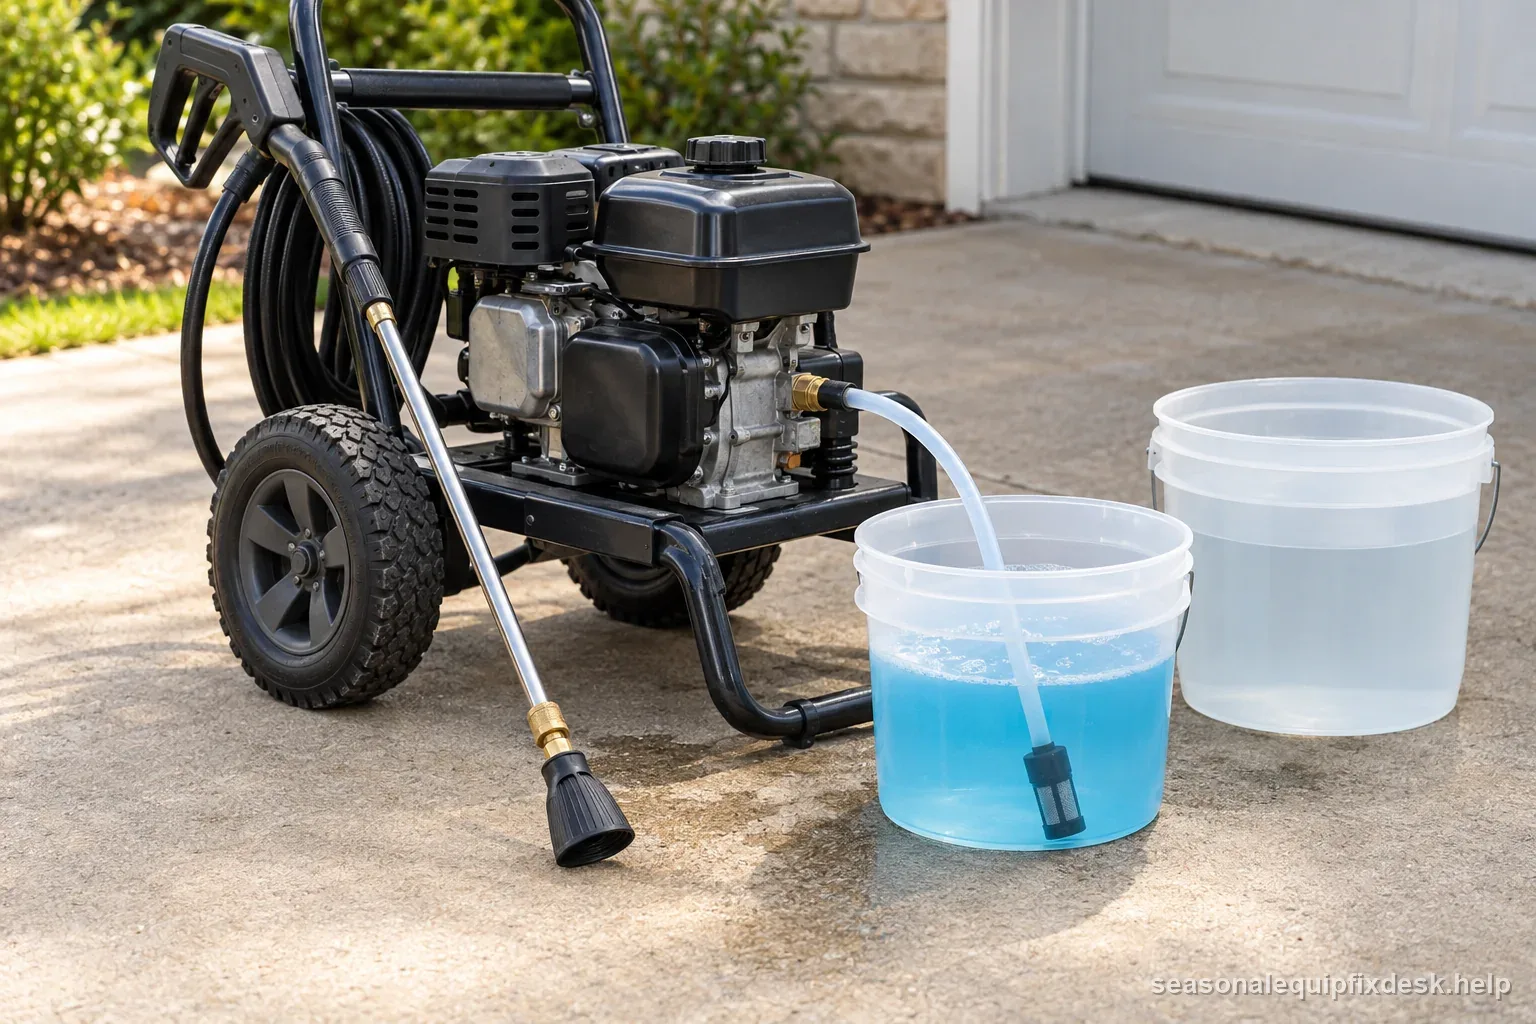
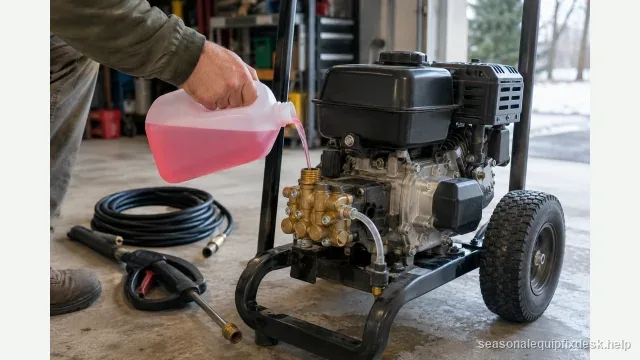
If the washer was stored where water could freeze, a cracked pump head, tube, fitting, or accessory may leak when it thaws. Do not assume every leak is a loose connector. Look for water appearing from the pump body or a seam, and give the service provider the storage conditions and first-use date. Winterizing products and storage steps are model-specific; use the manual rather than pouring automotive antifreeze or an unapproved chemical into the machine.
Before storage, use the maker’s procedure to remove water from the pump and accessories, disconnect the water source, and store hoses without tight bends. Replace a damaged accessory before the next use. A clear label in the storage bin with the model and compatible hose rating can prevent a rushed, unsafe substitute the following season.
What to record for parts or service
Write down the washer model, hose and gun markings, exact leak location, whether the water was on, and whether the unit had been stored through freezing weather. Photograph the connection while it is dry and pressure-free. Tell the dealer whether the leak began after changing a wand, dropping the gun, replacing an O-ring, or reconnecting a hose. Those details help distinguish an inexpensive compatible seal from a damaged accessory or pump fault.
Stop and arrange service for a pump-body leak, cracked housing, repeated leak after the correct seal is installed, damaged electrical cord, or any joint that will not lock. Keep the machine unplugged or switched off during inspection. Use only parts with the pressure and temperature rating specified for the model; a fitting that merely threads on is not proof that it is safe.