Quick answer: A machine that throws snow fine but still leaves a thin white layer behind on the driveway almost always has one of three problems. The skid shoes are set too high, the scraper bar is worn, or the two skid shoes are set unevenly against each other. It is not an engine, auger, or impeller problem. This is a different symptom from weak throw distance, and it has a mechanical adjustment, not a repair, as its usual fix.
| Remaining layer | Check | Adjustment direction |
|---|---|---|
| Even thin layer on paved drive | Skid shoes and scraper edge wear | Follow the manual to reduce scraper clearance without letting auger parts strike pavement |
| Uneven strip on one side | Left and right shoe height | Set both sides to the same model-specified gap |
| Packed snow remains after correct setup | Scraper wear and snow/ice condition | Replace a worn scraper; use a shovel for bonded ice |
Understand what the skid shoes and scraper bar do
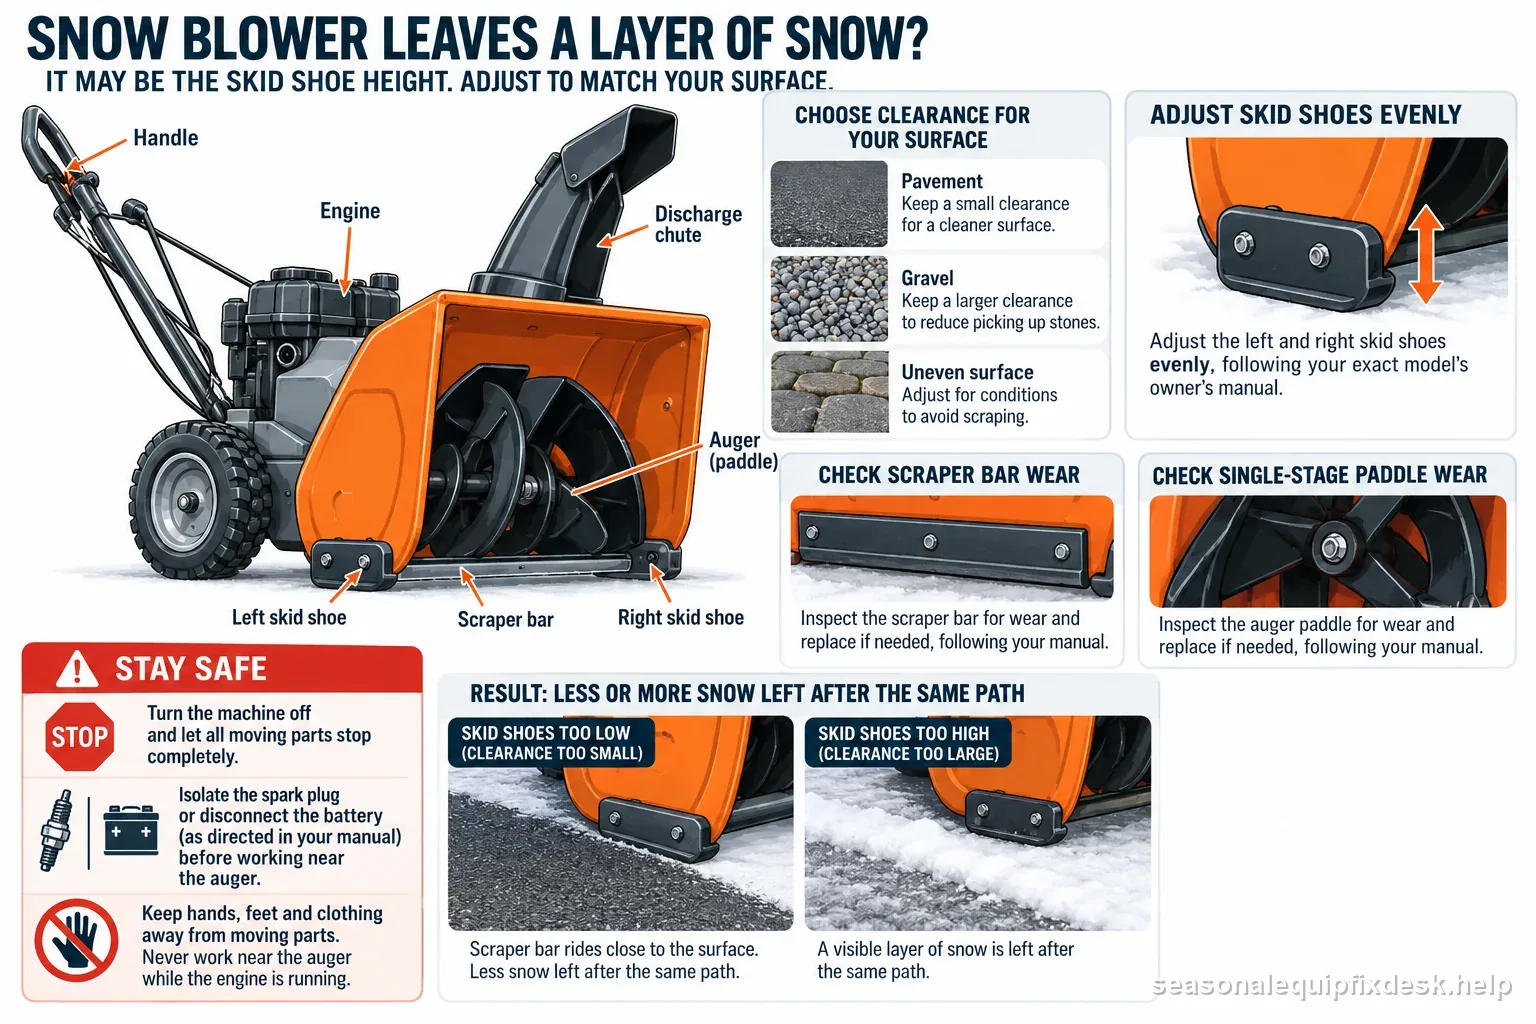
Skid shoes are the adjustable metal or polymer pads bolted to each side of the auger housing. They set how close the scraper bar at the bottom of the housing rides to the ground as the machine moves. The scraper bar itself is the straight edge that contacts the surface and pushes snow up into the auger. Set the skid shoes too high and the scraper bar rides above the last layer of compacted snow or ice. It stays behind no matter how well the engine and auger are running. Set them too low, or let the scraper bar wear down unevenly, and the machine can gouge gravel or scrape unevenly instead.
- ObserveRecord what the machine does before changing controls or parts.
- InspectFollow the control or part path that matches the symptom.
- IsolateInspect the relevant part with the machine safely stopped.
- Retest or stopRetest using the same conditions and settings. Stop when damage, unsafe operation, or a release failure remains.
Match the height to your surface before assuming something is broken
The correct skid shoe height is not the same for every driveway. On a smooth, sealed asphalt or concrete surface, skid shoes set close to flush let the scraper bar clear down to bare pavement. On a gravel or unsealed dirt driveway, the shoes need to sit slightly higher so the scraper bar does not dig into and throw loose gravel along with the snow. A small, deliberate layer left behind on gravel is normal and expected. If the machine used to clear one surface well and now leaves snow behind on that same surface, that points to an adjustment or wear problem. It is a stronger sign than a light layer it has always left on a gravel drive.
How to adjust the skid shoes evenly
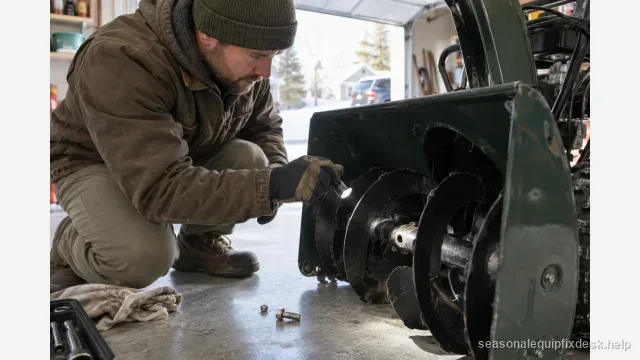
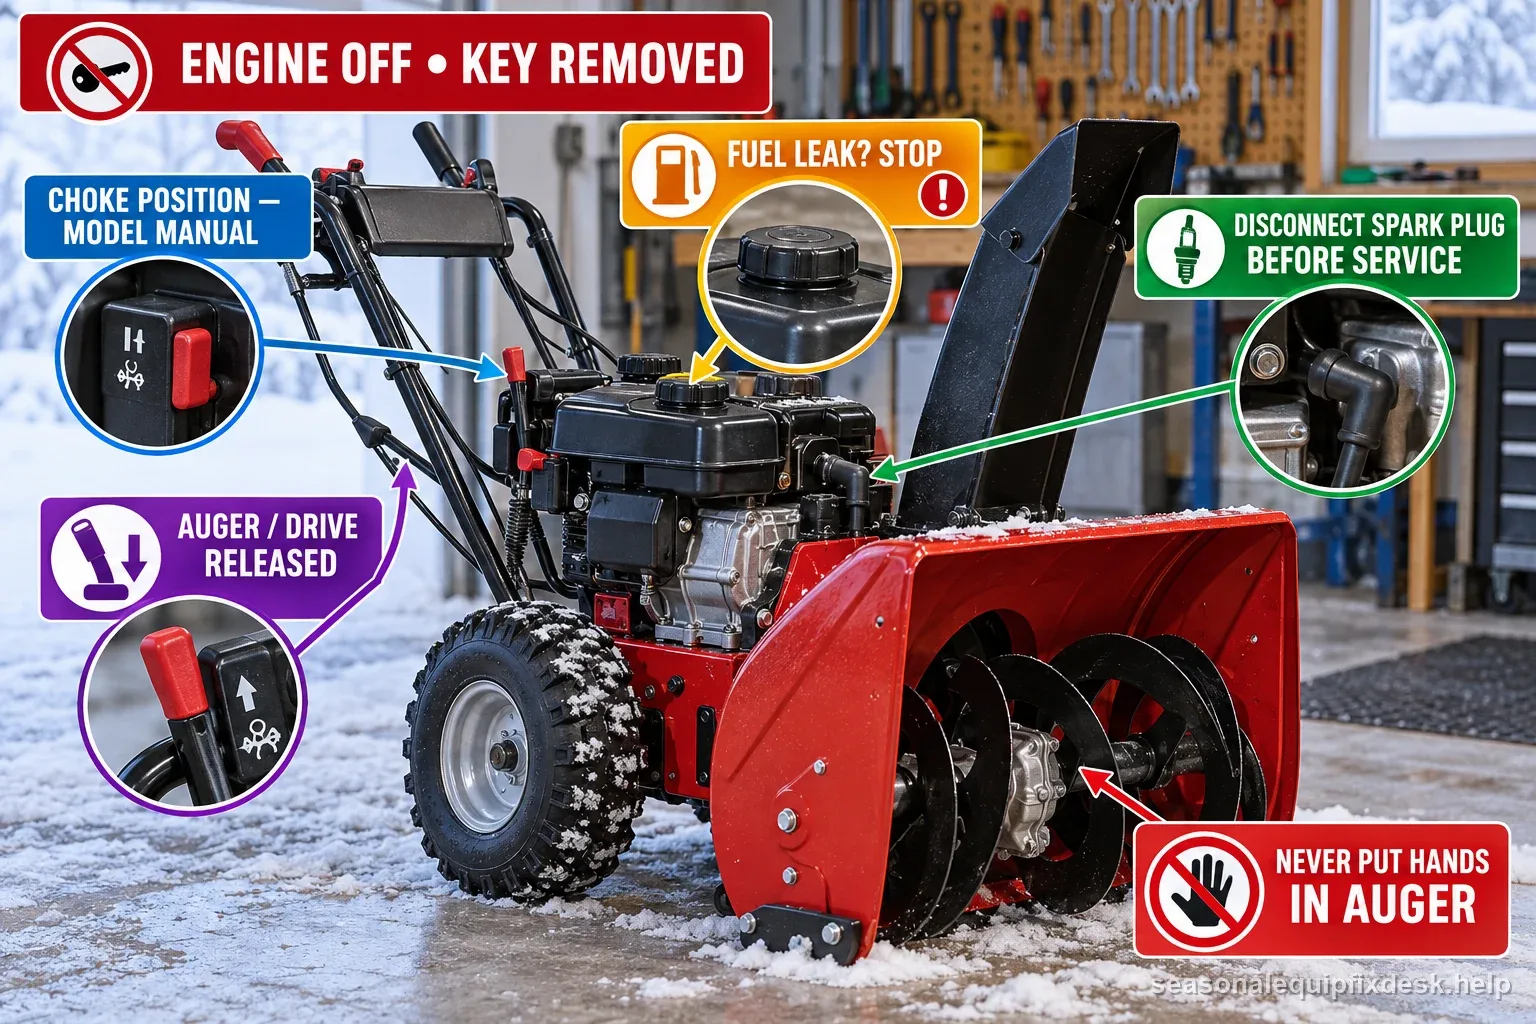
Park the machine on a flat, level section of the surface it normally clears. Shut the engine off and disconnect the spark-plug lead before working underneath the housing. Prop the front of the housing up using a flat object whose thickness matches the ground clearance you want the scraper bar to end up with. Many owners use a piece of scrap wood or a couple of stacked boards cut to that exact thickness as a simple spacer. With the housing propped at that height, loosen the bolts holding each skid shoe just enough to let it slide. Then slide each shoe down until its bottom edge rests flush against the ground. Retighten both sides, then measure from the ground to the same reference point on each shoe to confirm they ended up even. An inch of difference between the left and right shoe is enough to make the machine scrape unevenly or rock slightly as it moves.
Always check both skid shoes after this adjustment, even if only one side seemed to be the problem. Shoes that started even can drift out of alignment together over a season of use, and correcting only one side can leave the housing riding tilted.
| Observed result | Likely check | Next step |
|---|---|---|
| Scrapes on pavement or catches edges | Clearance may be too small or surface uneven | Stop and follow the exact manual for even shoe adjustment |
| Leaves a consistent layer on gravel | Clearance may be too large for the surface | Check shoe setting and scraper wear on level ground |
| Clears unevenly side to side | Shoes may be set unevenly or scraper worn | Compare left/right and inspect the scraper bar |
| Single-stage machine leaves more than before | Paddle wear may reduce ground contact | Inspect paddles using the model manual |
When the scraper bar itself is the real problem
A scraper bar that has worn down unevenly, developed a wavy edge, or become too thin after years of contact with pavement will leave a layer of snow behind. That happens even with the skid shoes adjusted correctly. The edge doing the scraping is no longer straight, or no longer reaches the ground evenly across its width. Many scraper bars are reversible or replaceable separately from the housing. Check the underside for a bar that is bolted on rather than welded. A bolted bar can often be flipped once to expose a fresh edge before a full replacement is needed. Recheck and readjust the skid shoes after any scraper bar service. A fresh or flipped bar changes the ground clearance the shoes were originally set against.
Single-stage machines wear out their paddles
A single-stage snow blower clears snow with rubber or plastic paddles that brush the ground. As those paddles wear down, they stop reaching the surface and leave a layer behind, no matter how the skid shoes or scraper are set. Look at the edge of each paddle. Most manuals give a wear limit or a wear line, and paddles worn past it need replacing.
Two-stage machines use a metal auger that does not touch the ground, so their layer of snow comes from skid-shoe height and scraper-bar wear instead. Knowing which type you own tells you which of these sections applies.
Rule out simpler causes before adjusting anything
- Very cold, dense, or refrozen snow: a thin, hard layer left on the last pass can be a limitation of the machine instead of a maintenance issue. A second slow pass sometimes clears it, where forcing a single fast pass will not.
- Uneven pavement: a low spot, a settled expansion joint, or a crowned section of driveway can leave a shoe riding high over one area, even when it is correctly adjusted everywhere else.
- Tire pressure or track tension on one side: a machine sitting slightly lower on one side, from an underinflated tire or a loose track, changes how the housing rides. That can look like an uneven skid-shoe adjustment.
- Use the same surface and a similar snow depth for the comparison
- Make one manual-directed change at a time and keep both sides even
- Use the same travel path and machine controls on each pass
- Compare how much snow remains and listen for scraping or binding
- Stop if the machine is unstable, parts are damaged, or the adjustment does not hold
The sequence that avoids redoing the adjustment
- Confirm the surface: gravel and dirt driveways are expected to keep a thin protective layer; pavement is not.
- With the engine off and the spark-plug lead disconnected, inspect the scraper bar edge for wear, waviness, or thinning across its width.
- Prop the housing to your target ground clearance and adjust both skid shoes to sit flush, then measure both sides to confirm they match.
- If the scraper bar is worn or bent instead of just misadjusted, flip it if the design allows, or replace it. Then readjust the skid shoes to the new bar.
- Check tire pressure or track tension on both sides so the housing is not riding tilted for reasons unrelated to the skid shoes.
- Test on the actual surface at normal operating speed. A slower pass over dense or refrozen snow is a reasonable second test before you conclude the adjustment is still wrong.
- Initial symptom and conditions
- Controls, settings, and supply checked
- Inspection finding before adjustment
- Single change made and result
- Any stop condition or unresolved fault
Working under the housing without getting hurt
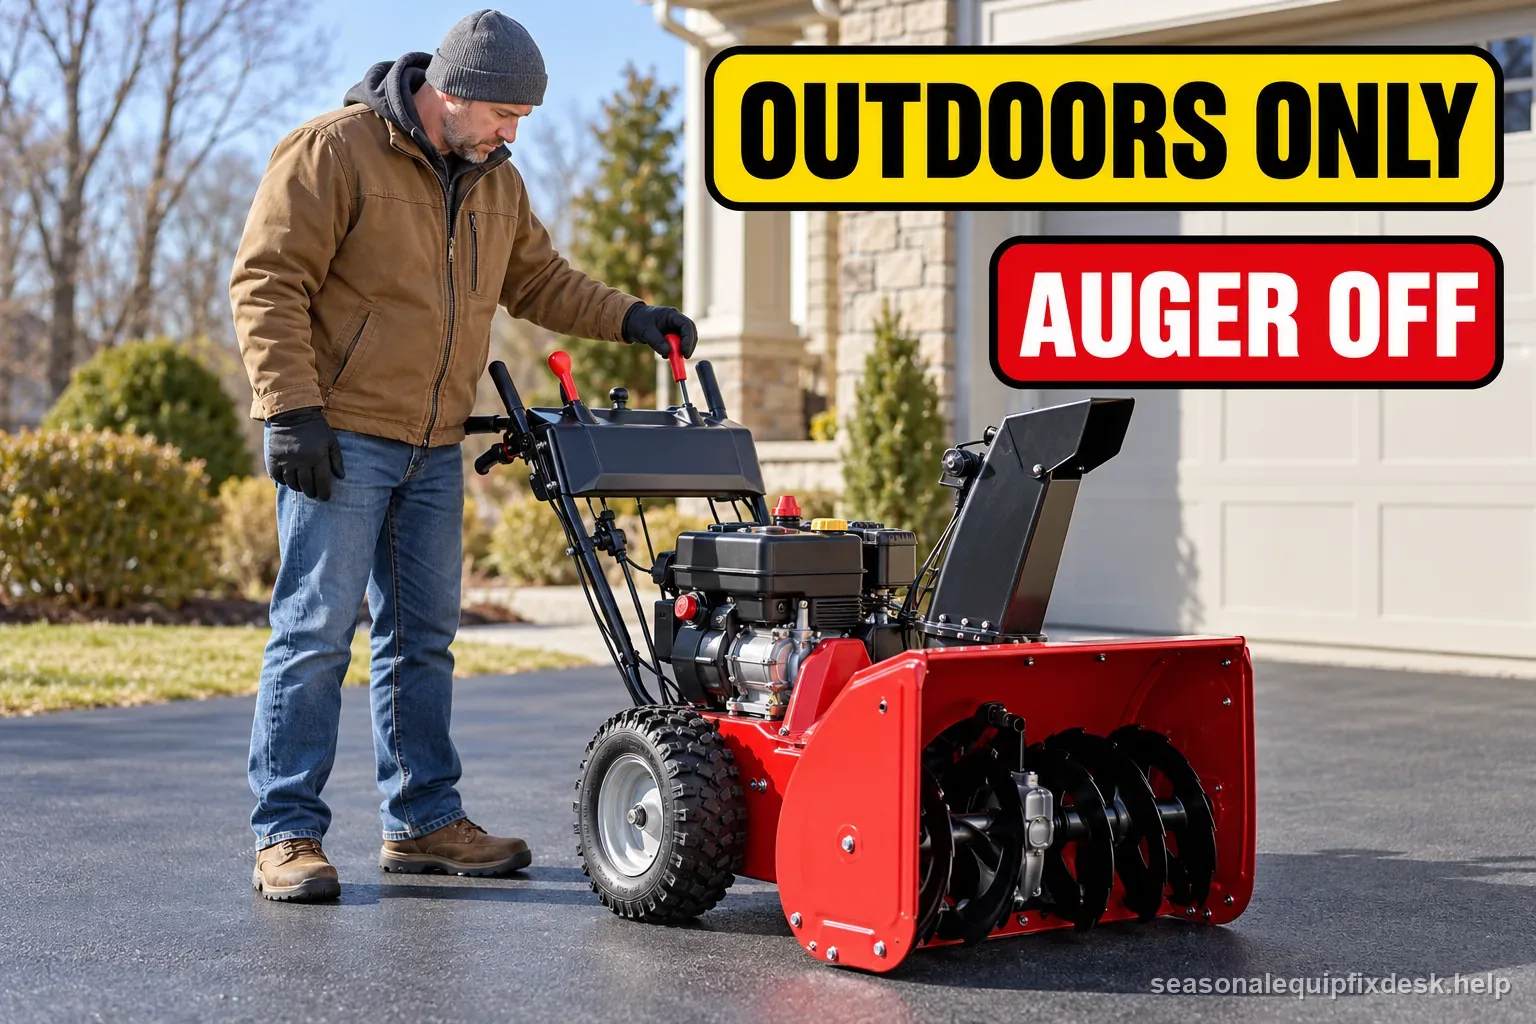
Shut the engine off and disconnect the spark-plug lead before propping up the housing or reaching anywhere near the auger, scraper bar, or skid shoes. A cold engine can still be bumped into starting if the lead is left connected. The auger and impeller stay capable of serious injury even when the machine is not running. Make sure the prop supporting the housing is stable and rated for the weight resting on it before working underneath. Do not rely on the auger or skid shoes themselves to hold the housing up while your hands are near the moving parts.
Why this adjustment is worth doing before the season, not mid-storm
Skid shoe height and scraper bar condition are easy to check in a dry garage before the first real snowfall. They are much harder to diagnose while you stand in an active storm wondering why the driveway still looks white after a pass. Check both now, before the machine sees its first heavy use of the season. You get an early look at scraper bar wear while there is still time to order a replacement part, instead of finding out mid-storm when the local dealer is already out of stock.