Quick answer: Before assuming a dead motor or trigger, check three things in order: whether the battery itself shows a charge, whether the blower tube is fully locked into its safety interlock, and whether the impeller is jammed with debris. Cordless blowers add failure points that a gas blower does not have, and most "won't turn on" cases trace to one of those three rather than the motor.
For a gas-powered machine, follow the gas leaf blower fuel and start checks; do not apply battery troubleshooting to a two-cycle engine.
| What you observe | Likely branch | Safe next check |
|---|---|---|
| No light; trigger does nothing | Pack seating, charge, start sequence, or tool control | Reseat compatible pack and follow model-specific start steps |
| Pack or tool light flashes | Could indicate low charge, heat, overload, or fault by platform | Decode the exact pattern in the manual |
| Stopped during heavy use | Possible thermal/overload protection | Switch off and let pack/tool cool naturally as specified |
| Pack works in another tool; blower still silent | Blower interlock, trigger, or internal fault | Check only external tube/cover locks used by this model |
| Fan blocked, damaged, wet, or burning smell | Unsafe obstruction or electrical fault | Remove battery; do not retry or reach into impeller |
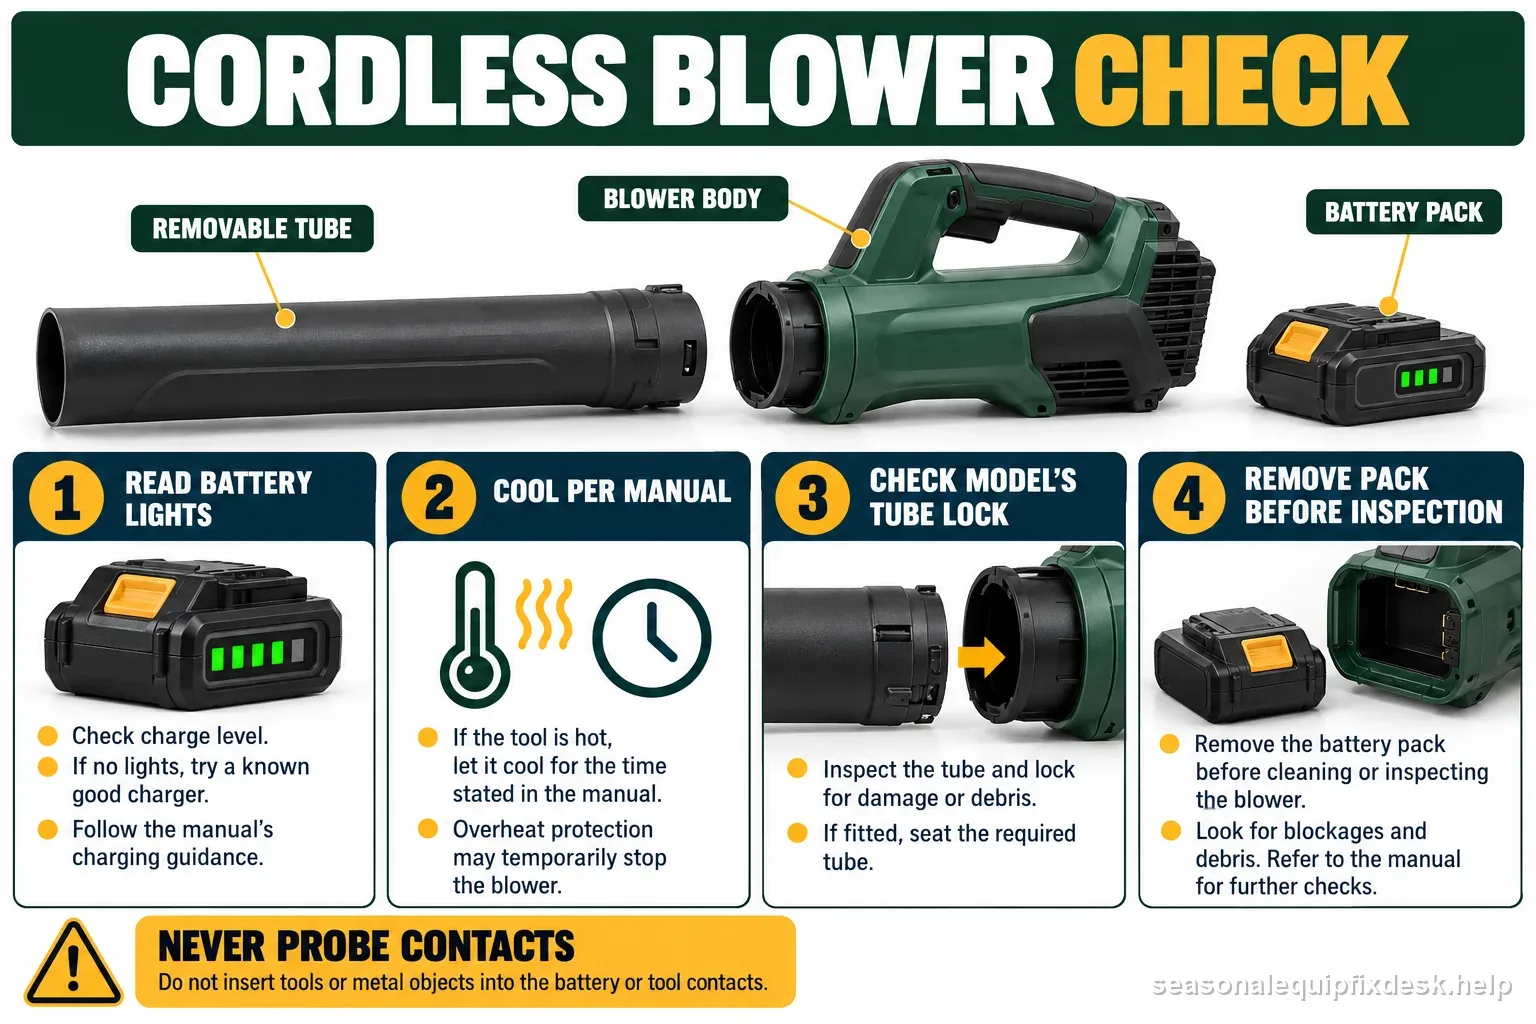
Check the battery's own indicator first
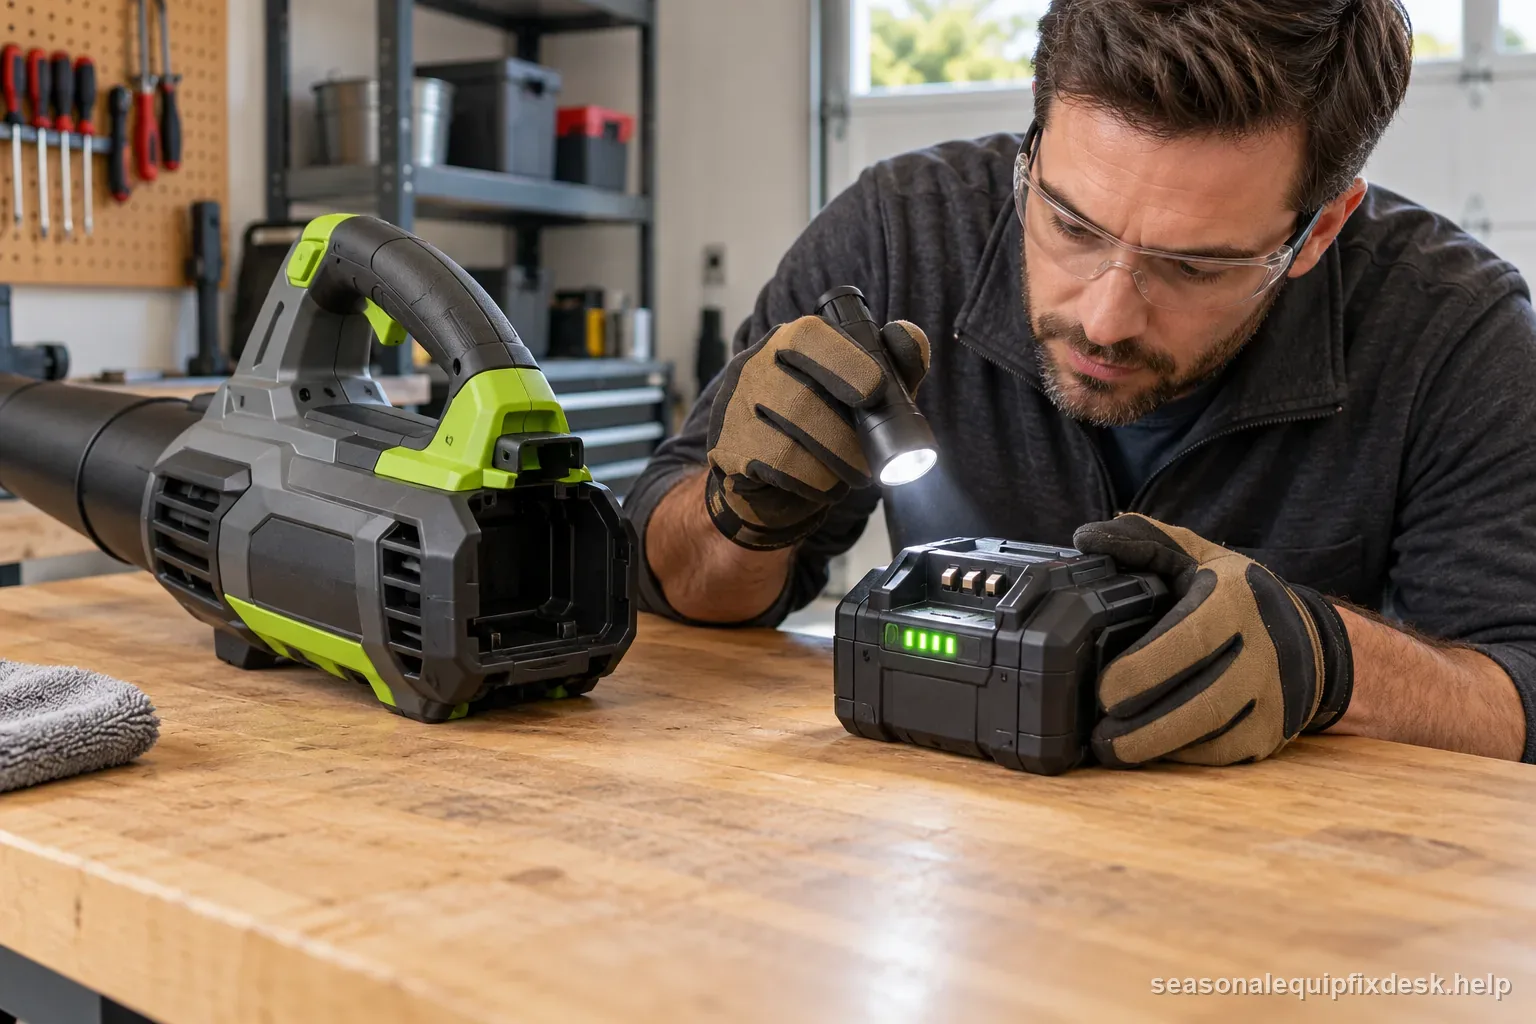
Battery indicators differ by platform. Read the light pattern in the battery and blower manuals; a flashing light can mean low charge, temperature protection, overload, or a fault depending on the model. Seat a compatible, undamaged pack fully and test with a known-good pack only if the manufacturer allows it. Do not probe contacts or use a visibly swollen, cracked, wet, or unusually hot battery.
Overheat protection can shut the whole tool down
Some battery packs and tools pause operation when the pack or motor is outside its permitted temperature range or has overloaded. If it stopped during heavy work, switch off and let the tool and pack return to the temperature range in the manual. Do not place a lithium pack in a refrigerator, near a heater, or in direct sun to force a reset. A repeated shutdown or a damaged/hot pack needs service.
The tube assembly has its own safety switch
Some blower and blower-vac models have a tube, inlet-cover, or accessory interlock; others do not. Check the exact model’s assembly diagram and confirm every required tube or cover is seated and locked. Do not force a collar or assume an audible click applies to every brand. If the model has no interlock, move on to its start controls and status lights.
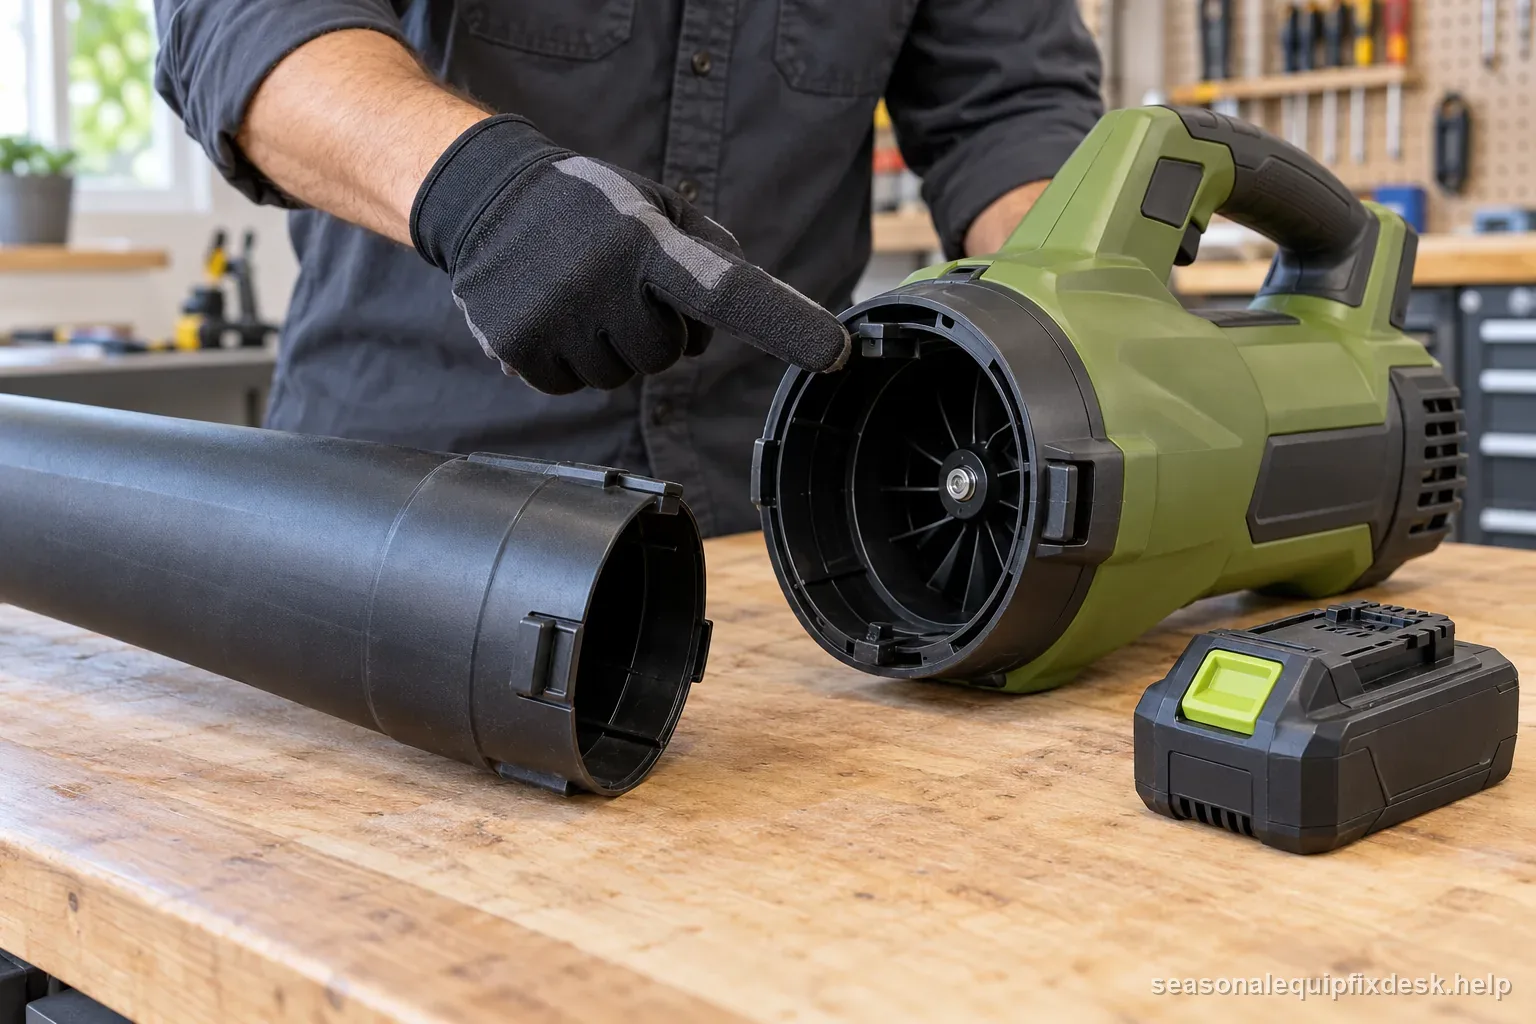
Never bridge the tube lock, probe battery contacts, or force a jammed impeller. Stop for swelling, melted parts, moisture, smoke, repeated overload, or unusual heat.
A jammed impeller can mimic a dead tool
Remove the battery before inspecting the intake or tube. Look from outside for a blockage; keep fingers and tools out of the impeller opening, even with the battery removed. Clear only with the tool or method specified in the manual. If the fan appears damaged, jammed, or does not stop normally, do not reinstall the battery or retry the trigger; use authorized service.
Check battery and tool contacts for corrosion
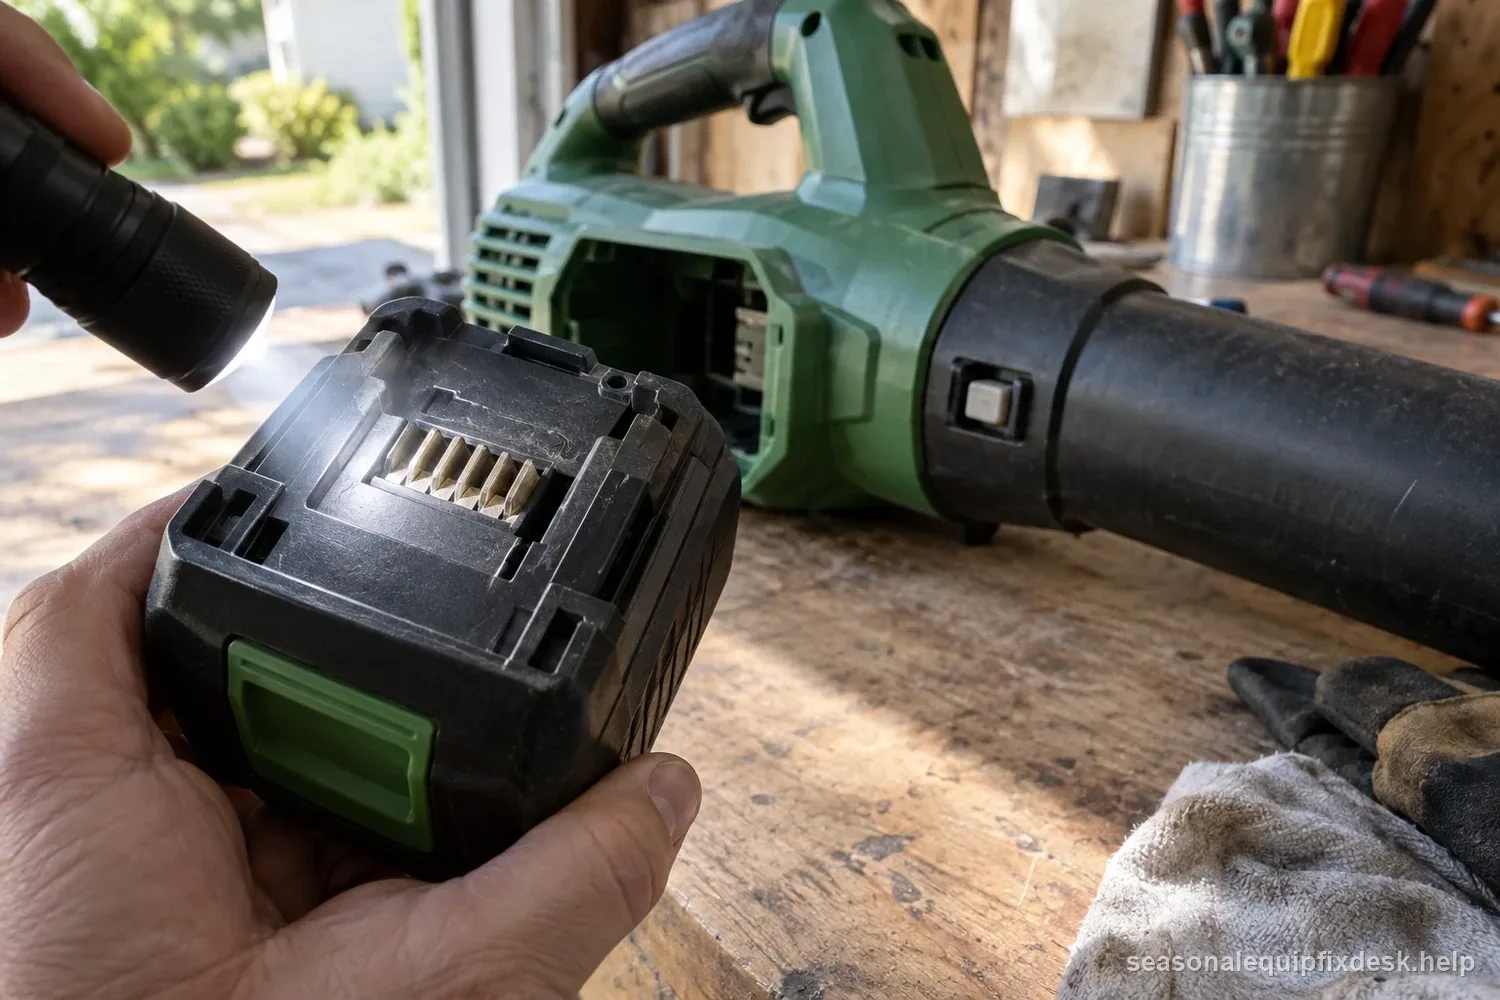
With the battery removed, visually check accessible contacts for moisture, debris, damage, or corrosion. Use only the cleaning method permitted by the manufacturer—never scrape contacts or spray solvent into the tool. Corroded, bent, melted, or wet contacts need service. A battery that reads charged but fails in this tool may still be weak; compare only with a compatible known-good pack where the manual permits.
Trigger and switch problems come last, not first
If the pack, model-specific controls, tube/interlock, and visible intake are all correct but the tool still gives no response, record its indicator pattern and contact the maker or repair center. Do not open a sealed housing, bypass an interlock, or test the switch with exposed wiring.
| Indicator or condition | Possible meaning | Next safe step |
|---|---|---|
| No battery lights | Low charge or pack/charger condition | Use the platform manual and known-good charger |
| Tool stopped while hot | Temperature protection may be active | Cool as the model manual directs |
| Pack lights but tool stays off | Interlock, switch, contact, or fault branch | Check required assembly only if fitted |
| Pack is damaged or unusually hot | Stop using the battery | Keep it away from heat and request service |
What to record before calling support
- Whether the battery's own fuel gauge shows a solid or flashing bar.
- Whether the battery feels unusually warm to the touch.
- Whether the tube locking collar was fully wound in, with an audible click.
- Whether the impeller turns freely by hand with the battery removed.
- Whether the battery and tool contacts show any visible corrosion or debris.
Those five answers let a support line or repair shop skip straight to the actual fault instead of re-walking the same battery and interlock checks you have already ruled out.
Storing the battery correctly prevents most of these calls
Manufacturer guidance for lithium-ion outdoor-tool batteries generally recommends storing packs in a cool, dry location away from direct sunlight, rather than a hot garage, shed, or vehicle where seasonal temperature swings are largest. Storing a battery at a fully drained state for extended periods can also stress the cell chemistry in ways that shorten how well it holds charge later, so a battery being put away for the off-season is generally better stored at a partial rather than empty or completely full charge, per most manufacturers' long-term storage guidance. A blower that's hard to start at the beginning of each new season is frequently explained by a battery that was stored incorrectly the previous fall, not by anything wrong with the tool itself.
If more than one cordless tool from the same battery platform starts showing the same slow-to-charge or won't-hold-charge pattern at the same time, that points toward the charger or a shared storage condition rather than one individual pack failing on its own — worth checking before replacing multiple batteries when the charger itself might be the actual cause.
| When the tool stopped | Record before reset | Why it matters |
|---|---|---|
| Before work began | Battery level and light pattern | Distinguishes charge from start-control branch |
| During heavy use | Workload and pack/tool temperature | May reveal temporary protection behavior |
| After a tube was removed | Whether this model uses an interlock | Avoids assuming every blower has one |
| After cooling or a known-good pack | What changed and whether the fault returns | Useful for support; repeated fault needs service |
Checking the charger itself, not just the battery
A battery charger has its own small set of failure points worth ruling out before condemning a battery outright: a charging base with a light that never changes from a blinking or amber state to solid green, a charger left plugged into an outlet that turns out to be dead, or charging contacts on the base that have accumulated the same kind of dust and corrosion that can affect the tool's own battery bay. Swapping a suspect battery onto a known-good charger, or a known-good battery onto the suspect charger, is a quick way to isolate which half of the charging system is actually at fault rather than assuming it's always the battery.
A seasonal pre-check saves a trip mid-yard-work
Before the first real yard-cleanup day of the season, it's worth doing a short dry run: charge the battery fully, insert it, fully lock the tube assembly, and confirm the blower runs for a full minute or two without tripping any protection. That short test surfaces a weak battery, a loose tube interlock, or a developing switch problem while you're standing in the garage rather than halfway through a yard with a dead tool and no easy way to diagnose which of the several possible causes above is the actual one. Keep a spare charged battery on hand if the platform supports it — for anyone who relies on a cordless blower regularly, a second battery removes most of the practical downside of battery-based tools compared to a gas equivalent that never needs a charging wait at all.
Cross-brand battery adapters are worth mentioning specifically here: an adapter that lets one manufacturer's battery power a different manufacturer's tool introduces a connection point that isn't part of either company's original design or testing, and a blower that won't turn on when run through an adapter should have that adapter itself checked, or bypassed entirely with the original matching battery, before any of the diagnostic steps above are treated as conclusive.
Battery light patterns are platform-specific. A dark pack can mean a discharged battery on one product and a pack or charger fault on another; a flashing indicator is not a universal error code. Record the exact light sequence and temperature, compare it with that battery’s manual, and stop if the pack is cracked, swollen, wet, or unusually hot.
For a motor that runs but has weak pickup in vacuum mode, inspect the bag, tube, mode lever, and impeller path in the leaf-vacuum guide.