Quick answer: First separate a heater that is not powered from one that is powered but warming the room slowly. Check the controls, plug, outlet, clearance, and level floor from the outside, then give the radiator time to warm. Do not touch hot fins to compare temperatures, tilt the heater, or open its sealed oil reservoir. If it remains completely cold after the safe checks, or the cord, plug, or housing is damaged, stop using it and follow the manufacturer’s service or replacement guidance.
| Symptom | External check | Stop and seek service when |
|---|---|---|
| No light and no heat | Confirm outlet operation and direct wall connection | Plug, cord, or outlet is hot or damaged |
| Light is on but heater stays cold | Raise thermostat, cancel timer, allow warm-up per manual | Still cold after the manual’s checks |
| Heater warms then stops | Check upright position, clearance, and unobstructed vents | It repeatedly trips, smells, smokes, or leaks oil |
Why an oil-filled radiator can feel cold
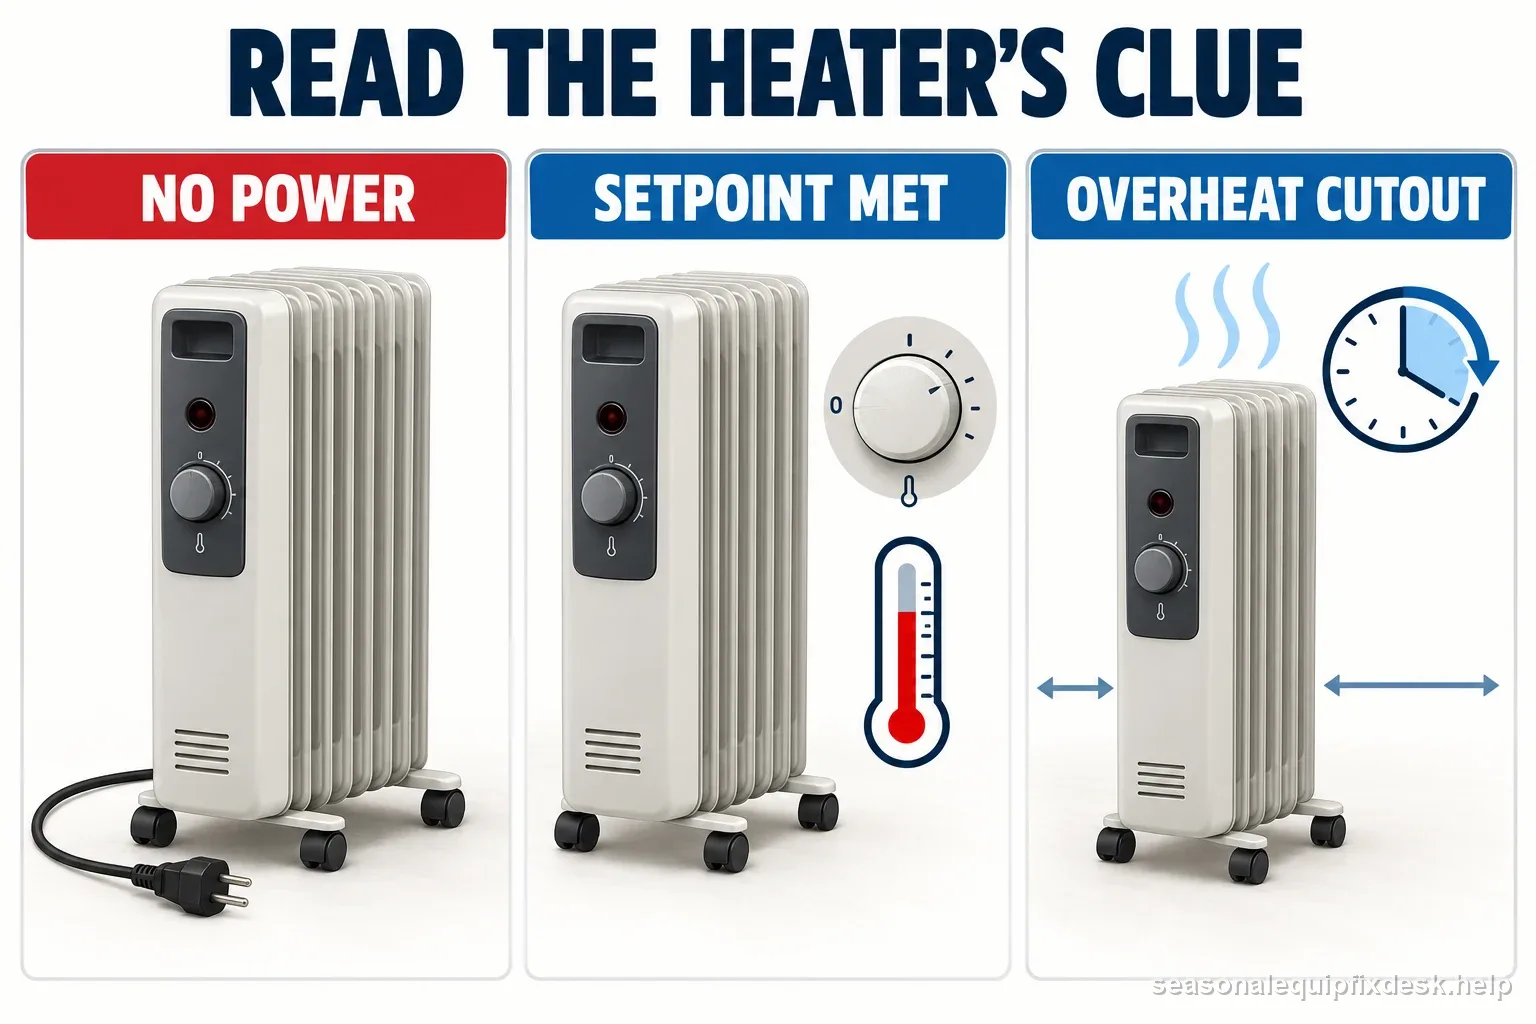
An oil-filled radiator warms a sealed thermal fluid with an electric element inside the casing. The fluid and metal fins take time to heat, so the room may not feel warmer immediately, and the thermostat can switch the element off after reaching its setting. Unlike a fan heater, the radiator has no airflow you can use as a quick test. A cool surface at one moment does not by itself prove that the heater is broken.
The oil chamber is sealed and is not a user refill point. A leak, a damaged casing, or a persistent electrical fault needs service or retirement of the unit, not a home repair. The safest useful diagnosis is therefore a sequence of external checks that establish whether the appliance is receiving power, whether its controls are calling for heat, and whether its operating conditions are normal.
Start with the controls and the symptom
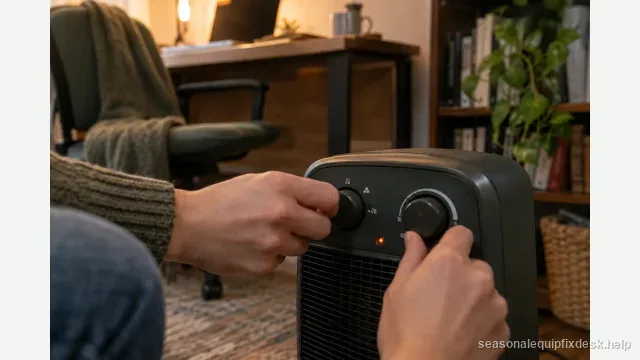
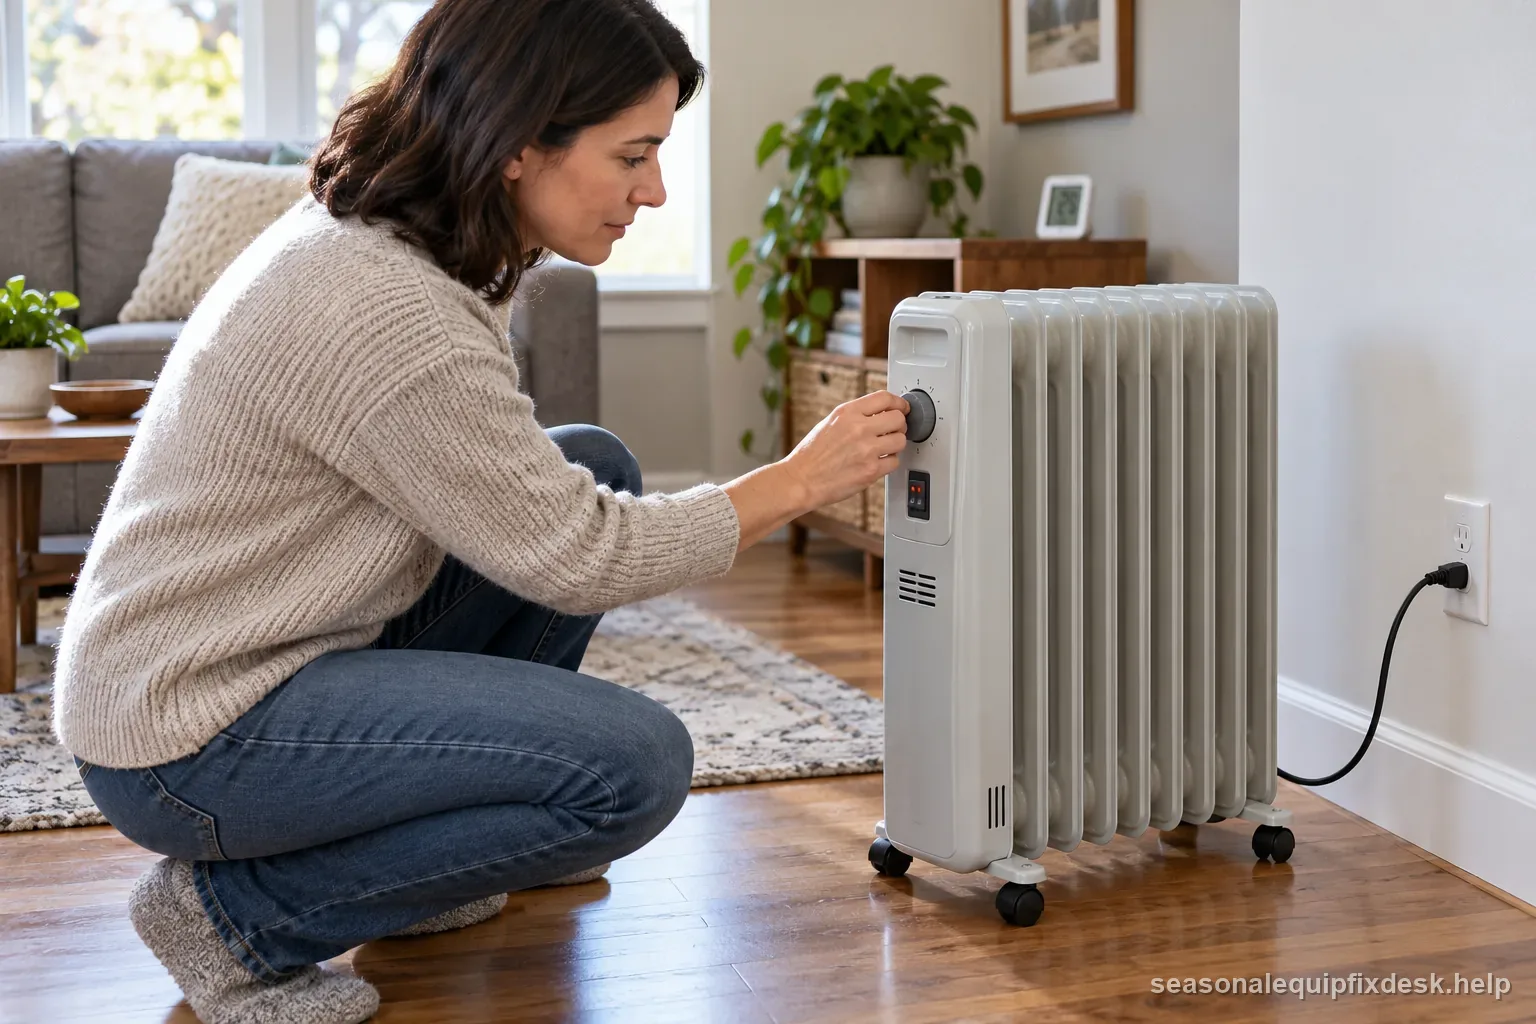
Set the power switch to on and turn the thermostat above the current room temperature. If the appliance has separate heat settings, select a normal setting described in its manual. Note whether an indicator light comes on, whether you hear a normal click, and whether any part of the casing begins to warm after the warm-up interval in the manual. Do not assume a click proves that the heating element works; it only gives you one clue about a control cycling.
If the radiator worked earlier and is now cool, wait a few minutes and check the thermostat again. The room may already be at the setpoint, causing normal cycling. If the control is a digital model, check for a timer, eco mode, schedule, child lock, or other setting that may intentionally pause heat. Use the model’s instructions to cancel a schedule or lock rather than guessing at button combinations.
Check the wall outlet and cord without opening the heater
Turn the heater off before inspecting the plug and cord. Look for a loose plug, cuts, crushed sections, melted or discolored plastic, a burnt smell, or a hot outlet face. Any of those signs means stop using the heater and have the outlet or appliance assessed. Do not touch exposed conductors or repeatedly reset a breaker that trips when the heater is connected.
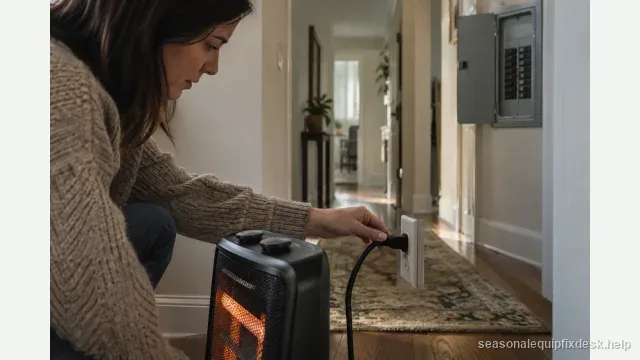
When there is no damage, plug the heater directly into a suitable wall outlet. Space heaters draw substantial sustained current; CPSC and fire-safety guidance warns against using an extension cord or power strip for a portable heater. If the outlet seems dead, switch the heater off and unplug it, then test the outlet with a small known-working appliance. If the breaker has tripped, leave the heater disconnected and investigate the circuit according to the home’s electrical guidance. A breaker that trips again is a stop condition, not an invitation to keep trying other outlets.
Give the heater clear space and a stable base
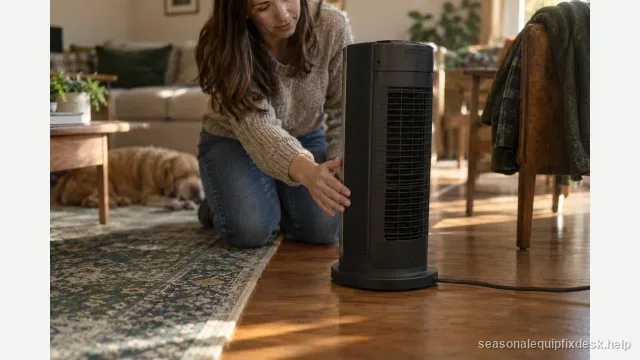
Place the unit upright on a firm, level, non-combustible floor as its manual specifies. Keep it away from curtains, bedding, furniture, paper, and foot traffic, and maintain the manufacturer’s clearance. Do not put it on a thick rug or wedge an object under a wheel to level it. A tip-over or safety switch may prevent operation when the base is not stable; correct the placement once, with the heater switched off and cool.
Check that nothing covers the controls or blocks any air openings. Never drape clothing over the fins to dry it. If the heater has been stored or moved, inspect it visually for impact damage before reconnecting it. Leave it upright; do not shake, invert, or rock it to try to redistribute the oil.
- Confirm the control and power state.Check switch, thermostat, timer, indicator, plug, and a known-working outlet.
- Check stable placement and clearance.Keep the unit upright on a firm, level floor and clear of fabrics.
- Allow the model-specific warm-up.Observe the indicator and use a non-contact thermometer if needed.
- Stop at any warning sign.Unplug for damage, oil leakage, smoke, persistent odor, or repeated breaker trips.
Allow a proper warm-up and compare the symptom safely
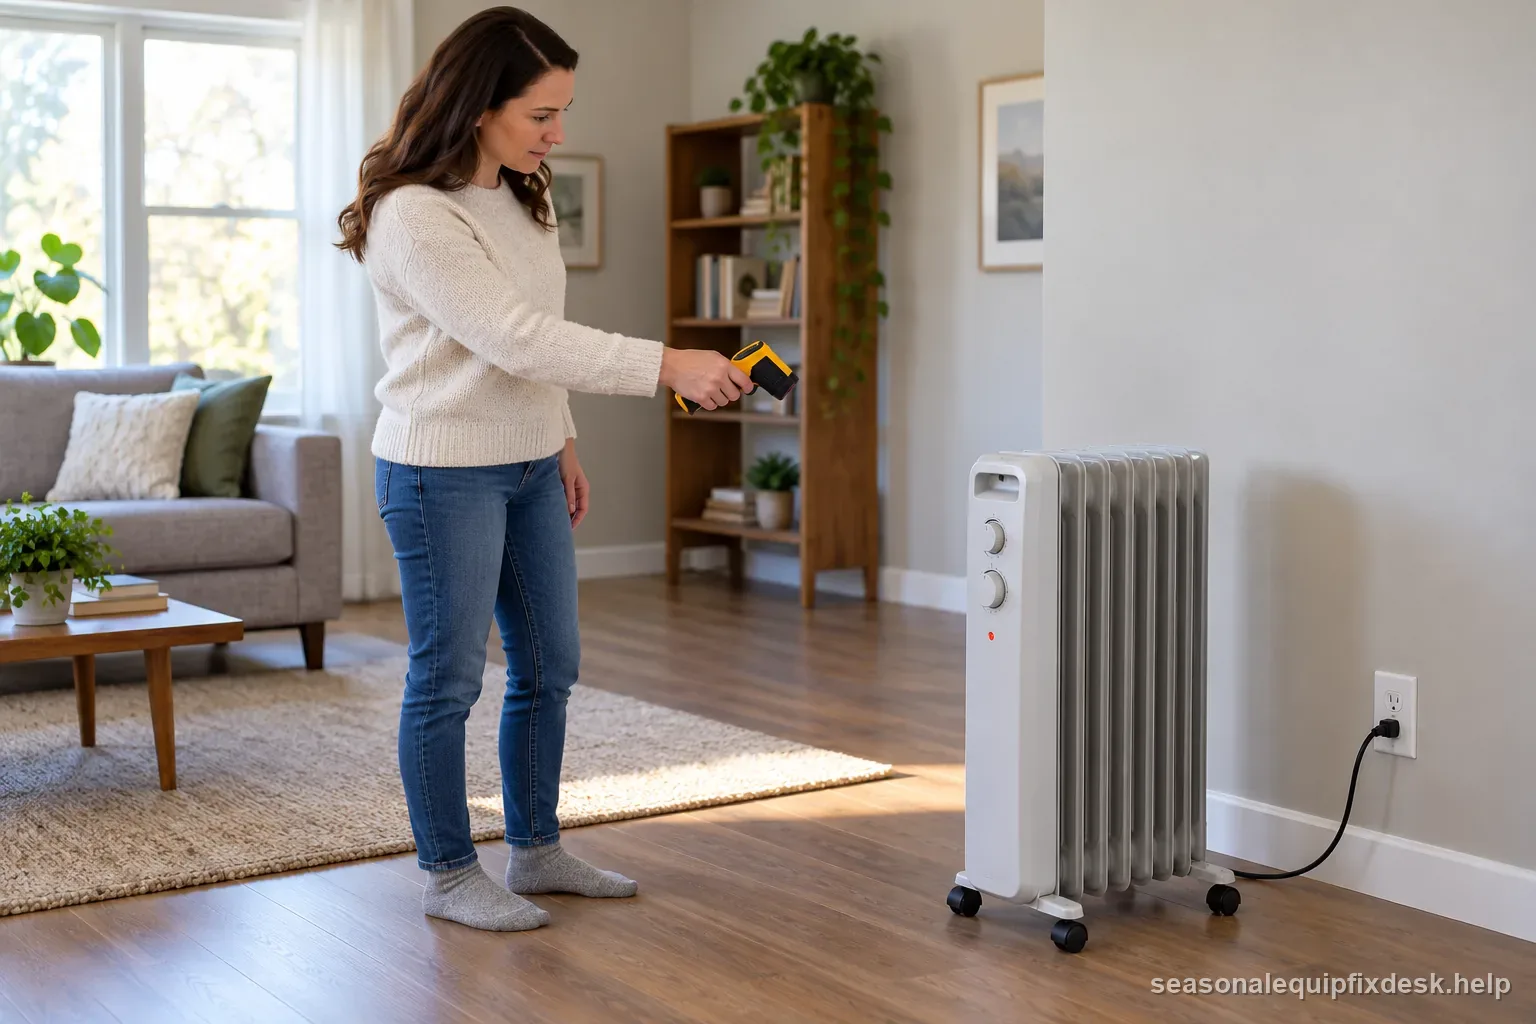
Once the controls, outlet, and placement are correct, let the heater run for the warm-up period stated in its manual. Radiators respond more slowly than fan heaters because they first heat the internal fluid and metal. If you need to compare surface temperature, use a non-contact infrared thermometer from a safe distance and follow its instructions. Do not test hot fins with a hand, cloth, or other contact method; the surface can burn even when the room still feels cool.
Interpret the result in broad categories. If the unit becomes warm but the room remains cool, check the room size, drafts, ceiling height, and the heater’s rated output against the room’s needs. If the indicator cycles and the casing cools between cycles, compare the thermostat setting with the room temperature. If there is no light and no warmth, revisit the supply and control checks once. If the light is on but the casing stays entirely cold after the manual’s warm-up interval, an internal fault is possible and should be handled by service.
Use the symptom table to choose the next safe step
This table narrows the next action without asking you to test live wiring or dismantle the appliance. Follow the owner’s manual when its instructions differ for your exact model.
| What you observe | Likely explanation to check | Next safe action |
|---|---|---|
| No light and no warmth | Supply, switch, timer, or control state | Test outlet with heater unplugged; review model controls |
| A model-specific overheat code appears | Protection may have paused heating | Use that model manual’s cool-down/reset steps; codes are not universal |
| Light on, case still cold | Warm-up delay or internal heater fault | Wait the manual interval; seek service if still cold |
| Case warms, room stays cool | Room heat loss or heater capacity | Check drafts, room size, and rated output |
| Burnt odor, damaged plug, repeated trip | Electrical or overheating hazard | Stop use and arrange inspection |
Understand clicks, cycling, and smells
Soft ticking or popping during warm-up and cool-down can come from metal expanding and contracting. By itself, that sound does not establish a fault. A loud bang, repeated arcing or crackling, smoke, a melting-plastic odor, or a cord or plug that becomes hot is different: turn the heater off if safe, unplug it without touching damaged areas, and do not use it again until inspected.
A brief dusty odor can occur on the first use after storage, but it should fade quickly. Stop immediately if the smell is electrical, sharp, persistent, or accompanied by smoke or discoloration. Do not keep running a suspect unit to “burn off” an unknown odor.
Reset only a control the owner’s manual identifies
Some models have an external reset control or a documented power-cycle procedure; others do not. Use a reset only when the exact model’s manual identifies it as an owner action, and only after the appliance has cooled and the cause of an overheat condition has been addressed. Do not search inside the casing for a thermal fuse or try to reset, bypass, or replace an internal safety device. Manufacturer manuals commonly reserve internal repairs for qualified service because the heater combines mains voltage, hot surfaces, and a sealed fluid chamber.
When to stop troubleshooting and arrange service
Unplug the heater and stop using it for a damaged cord or plug, melted plastic, oil leakage, smoke, repeated breaker trips, a safety device that will not reset as described, or any persistent electrical smell. Do not open the housing, add oil, bridge a safety switch, or continue testing a unit that has one of these symptoms.
If the external checks pass but the radiator still produces no heat, contact the manufacturer or a qualified appliance service provider with the model number, indicator-light behavior, control setting, and what happened at the outlet. Check warranty coverage before paying for repair. Because the reservoir and element are sealed, replacement may be the practical option when an internal component has failed; let the manufacturer’s service advice and the cost comparison decide.
- Model number and age of the heater
- Whether the indicator turns on and thermostat setting
- Whether the casing warms after the manual interval
- Outlet, cord, placement, or breaker observations
- Any odor, leakage, damage, or reset attempt described in the manual
A short, safe retest
- With the heater switched off, inspect the cord, plug, casing, and floor for damage or instability.
- Confirm the outlet works and that the plug goes directly into the wall, with no extension cord or power strip.
- Set the thermostat above room temperature, disable any timer or eco schedule using the manual, and choose a normal heat setting.
- Place the heater upright with the required clearance and let it warm for the period in the manual.
- Record whether the indicator comes on, the case warms, the thermostat cycles, or a stop-use sign appears.
A successful retest means normal warmth and cycling with no damaged parts, odor, or repeated power interruption. If it remains cold after these checks, preserve the notes and arrange service instead of repeating the same test.
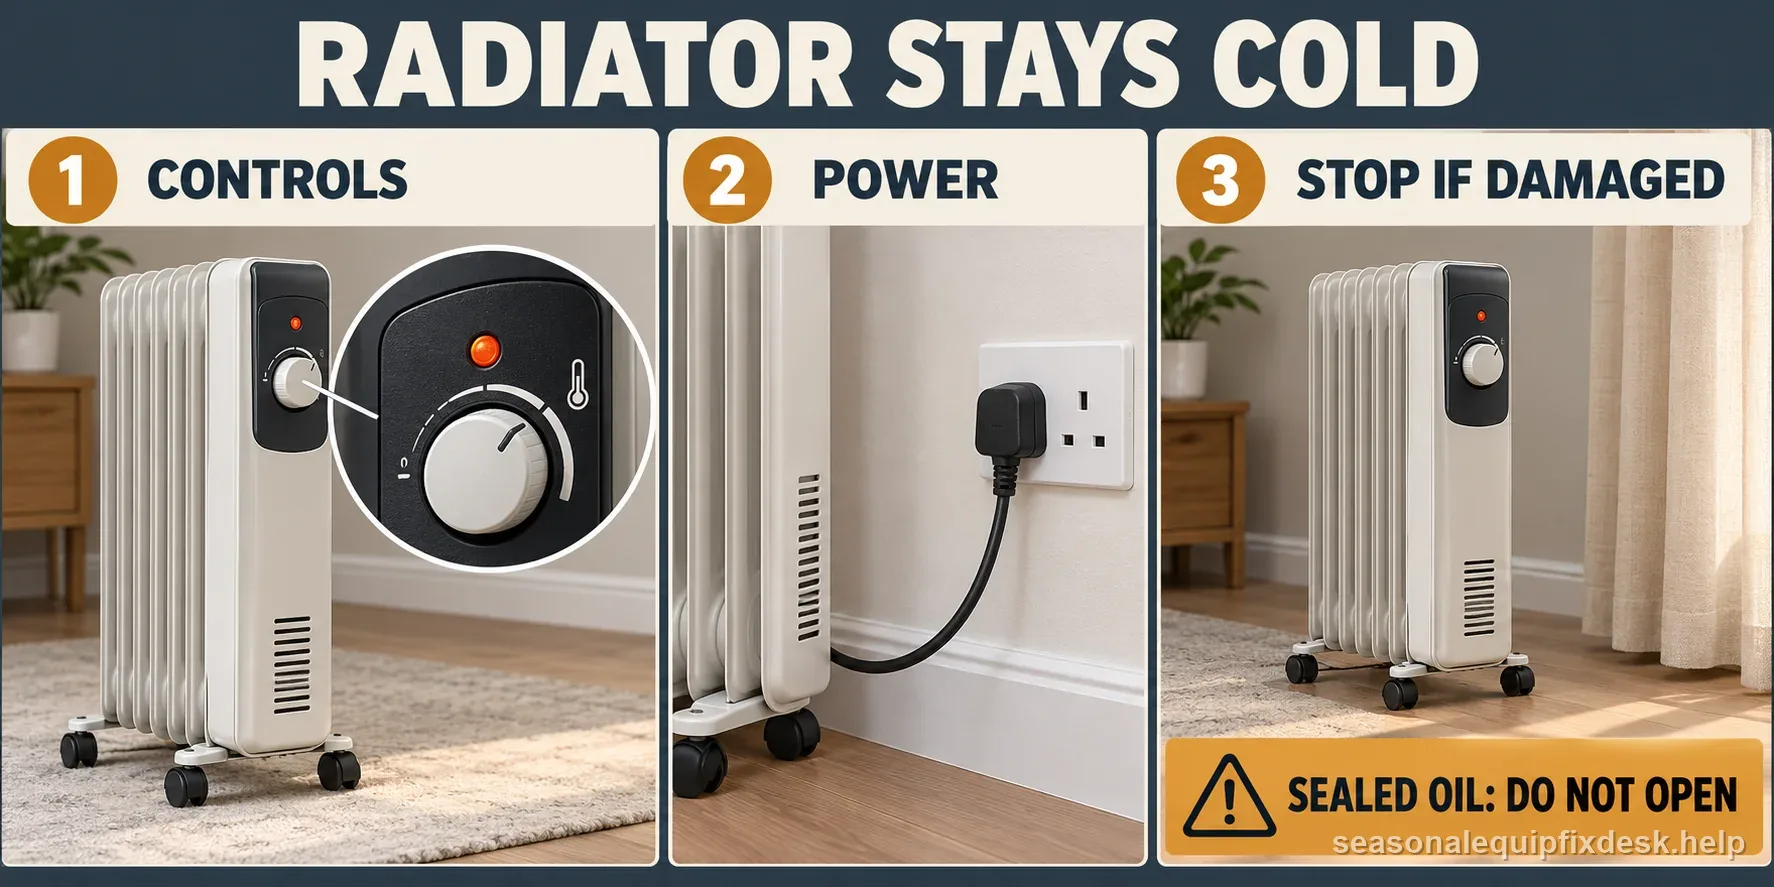
Use this as a visual summary; follow the exact equipment owner manual for any operation or maintenance.