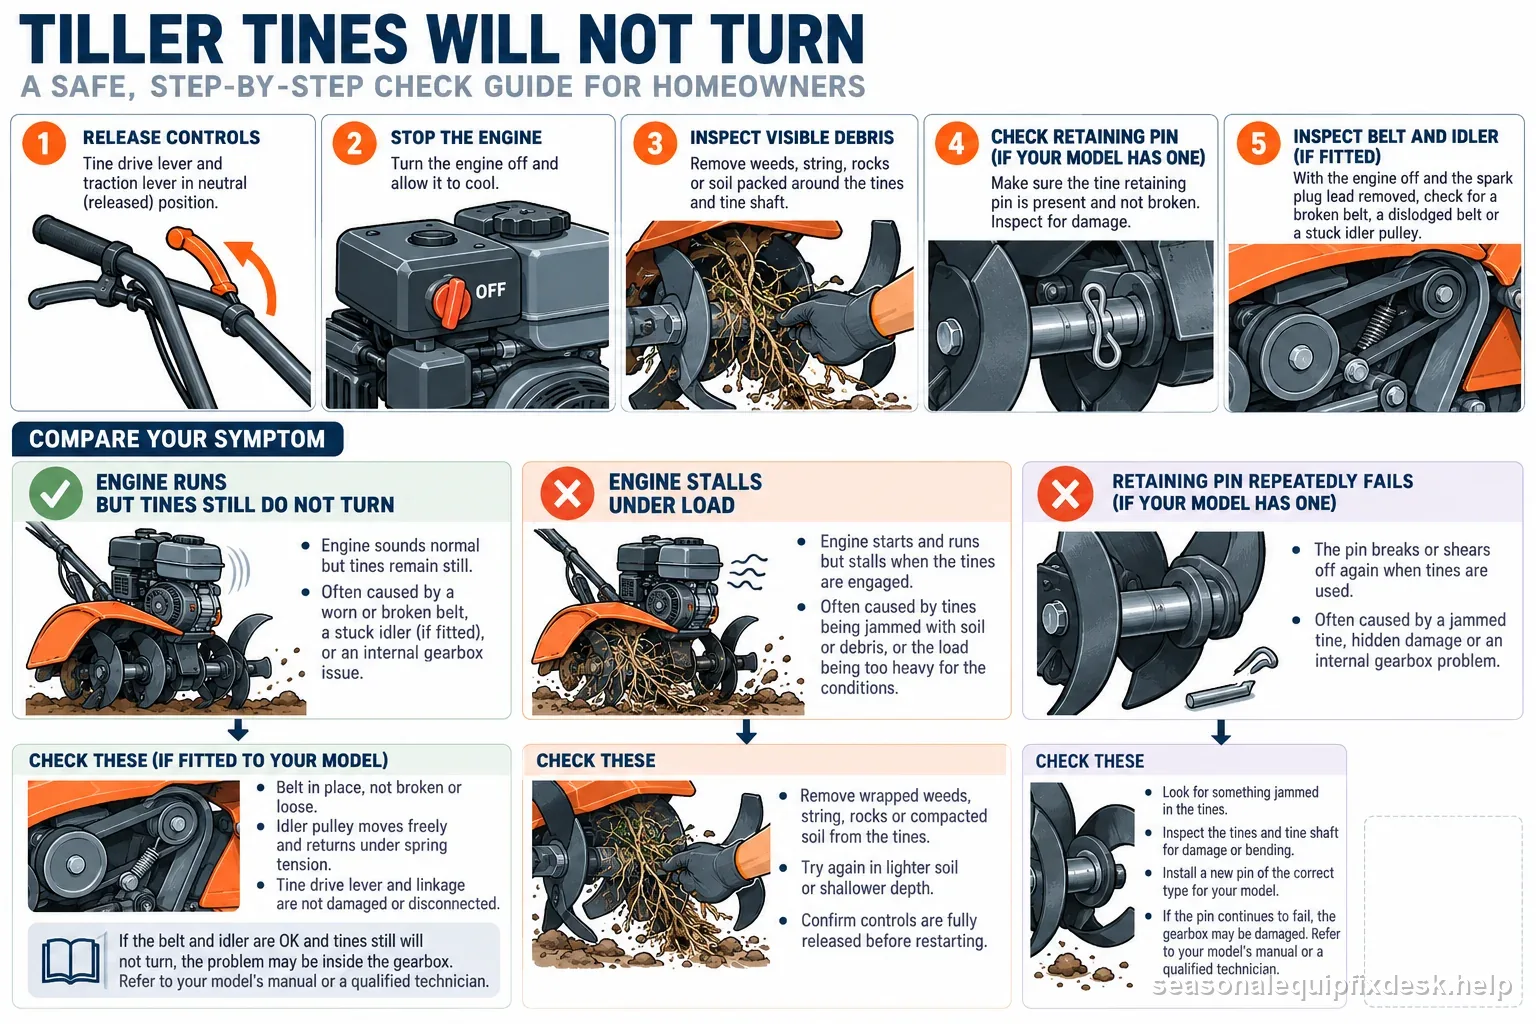
Quick answer: If the engine runs but the tines stay still, first confirm the tine control is engaged as the model manual describes and check for wrapped weeds or debris. Then inspect the external tine-drive connection. Depending on the machine, that path may include an engagement cable, belt and idler, a retaining pin, or a direct-drive coupling. Do not assume every tiller uses the same parts.
Start with controls and visible obstructions
Park on stable, level ground, disengage the tine control, shut the engine off, remove the key if fitted, and let hot parts cool. Keep hands and feet away from the tines. Check that the tine-drive lever or clutch is fully engaged and that its cable or linkage is attached, not visibly frayed, kinked, or disconnected. Follow the manual’s control check; do not adjust cable tension by guesswork.
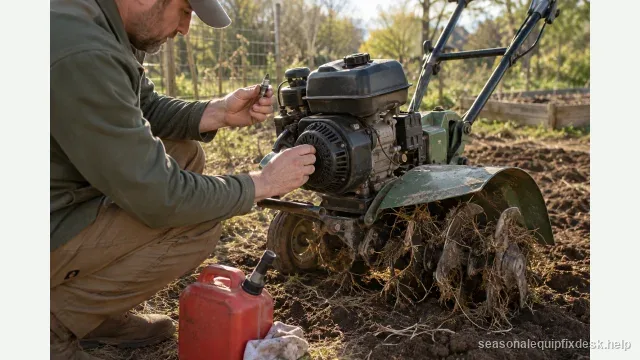
Look from the outside for roots, string, sod, or weeds wrapped around the tine shaft. Clear only when the engine is off and the ignition is disabled exactly as the manual directs. If the manual allows turning the tines by hand, use that method only after preventing an accidental start and keeping clear of sharp edges. If it does not authorize a hand-turn check, skip it. Never reach beneath an unstable machine or use the engine to dislodge debris.
Use the symptom to choose the next check
| What you observe | Likely area to inspect next | Safe next step |
|---|---|---|
| Tines do not move at all | Control engagement, cable/linkage, belt or coupling, retaining hardware | Check the external controls first; inspect only owner-serviceable parts in the manual |
| Tines move, then stop or slip in soil | Loose or worn belt, incorrect engagement, overload or obstruction | Stop, clear the area, and use the specified working depth and operating method |
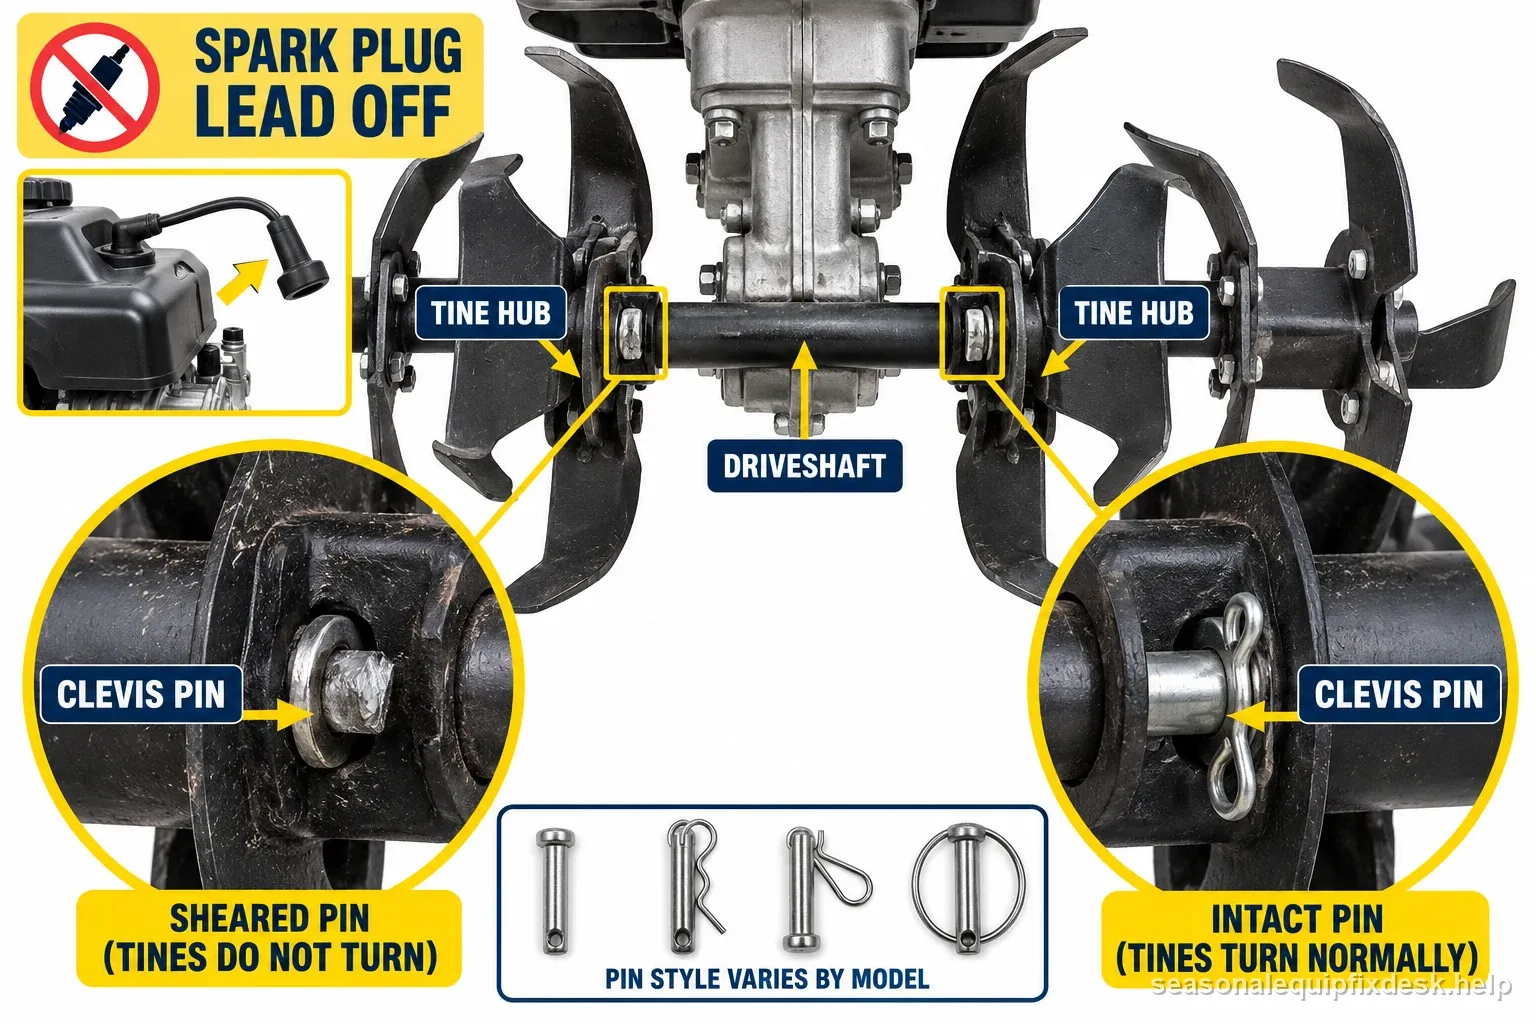
| One tine assembly is loose or turns differently | Model-specific retaining pin, clip, hub, or shaft connection | Compare with the parts diagram; install only the specified hardware |
| Grinding, binding, leak, or repeated pin failure | Possible internal gearbox or shaft damage | Stop using the machine and arrange qualified service |
| Observed symptom | Inspect next | Stop condition |
|---|---|---|
| No tine movement | Control, cable/linkage, then model-specific drive parts | Stop if cable or drive damage is unclear |
| Slips under load | Specified belt and operating method, if fitted | Stop for persistent slip or burning smell |
| Grinding, binding, leak, repeat pin failure | No further owner disassembly | Stop and arrange qualified service |
Check retaining hardware only where fitted
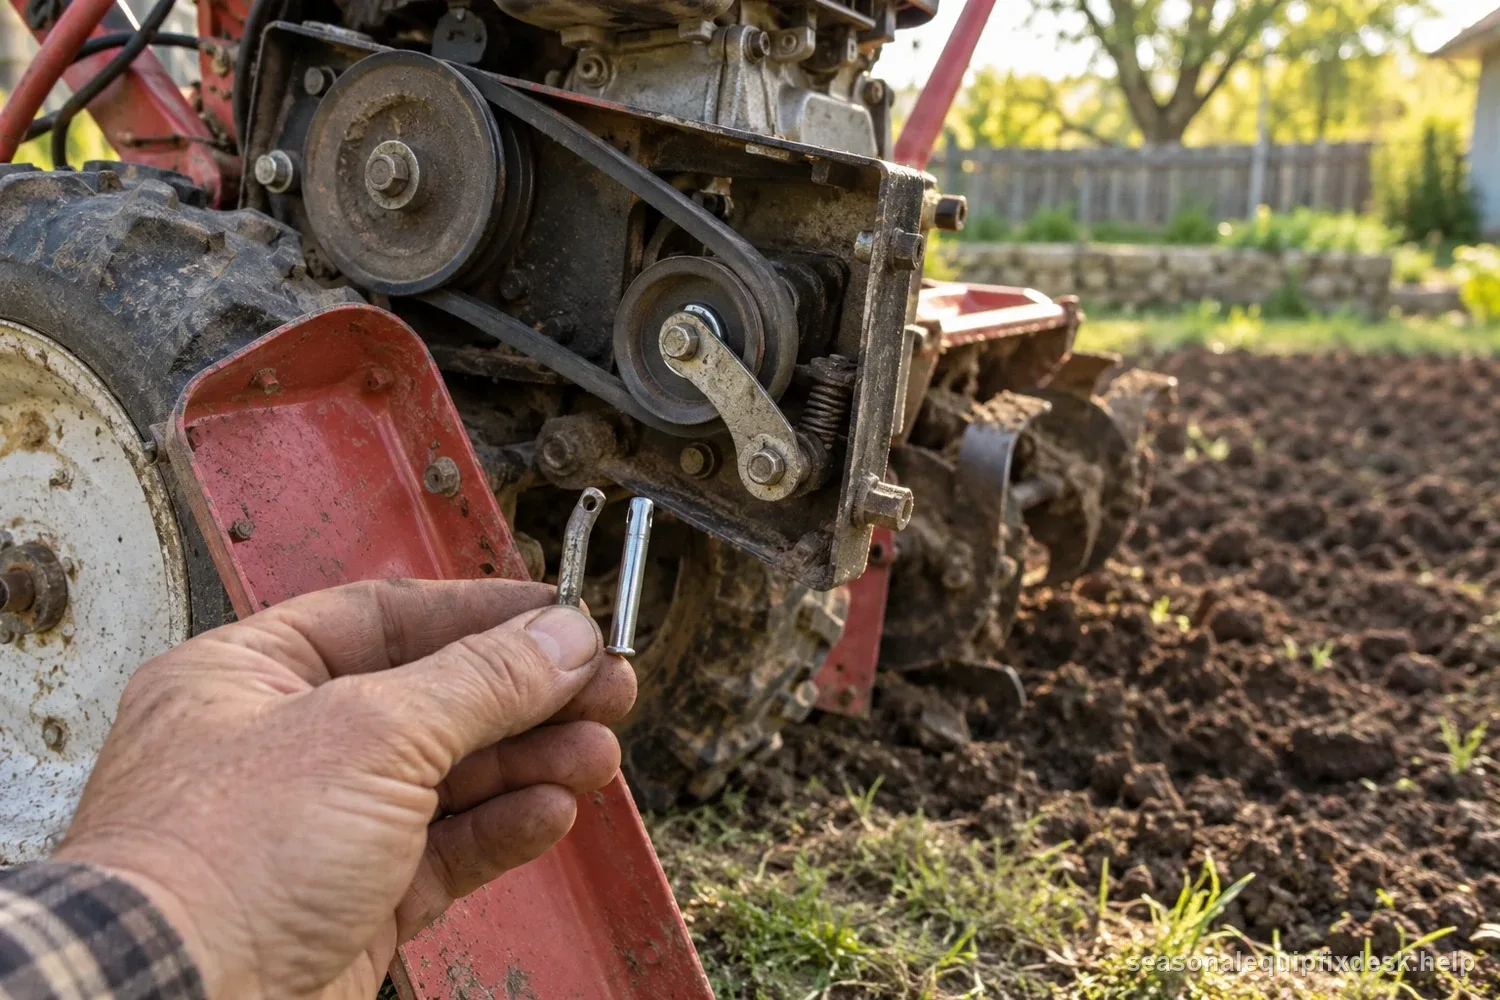
Some tillers use a clevis pin or other specified retainer at the tine hub; others use a different hub or direct-drive arrangement. If the manual and parts diagram show a pin, inspect it with the engine disabled. A missing, bent, or sheared pin can disconnect a tine assembly. Replace it with the exact part number and retainer specified for the model. Do not substitute a hardware-store bolt, nail, or stronger pin: the specified part may be designed to protect the drivetrain.
Inspect a belt and idler if your model uses them
If the tiller has a belt-driven tine system, consult its manual before removing the belt cover. Shut the engine off, remove the key, disconnect the spark plug lead where the manual directs, and wait for every moving part to stop. Inspect the tine belt for a break, glazing, fraying, or displacement and check whether the idler moves with the control. Keep guards and covers in place during operation. Belt routing and adjustment are model-specific; use the specified procedure and parts rather than tightening the belt until it feels taut.
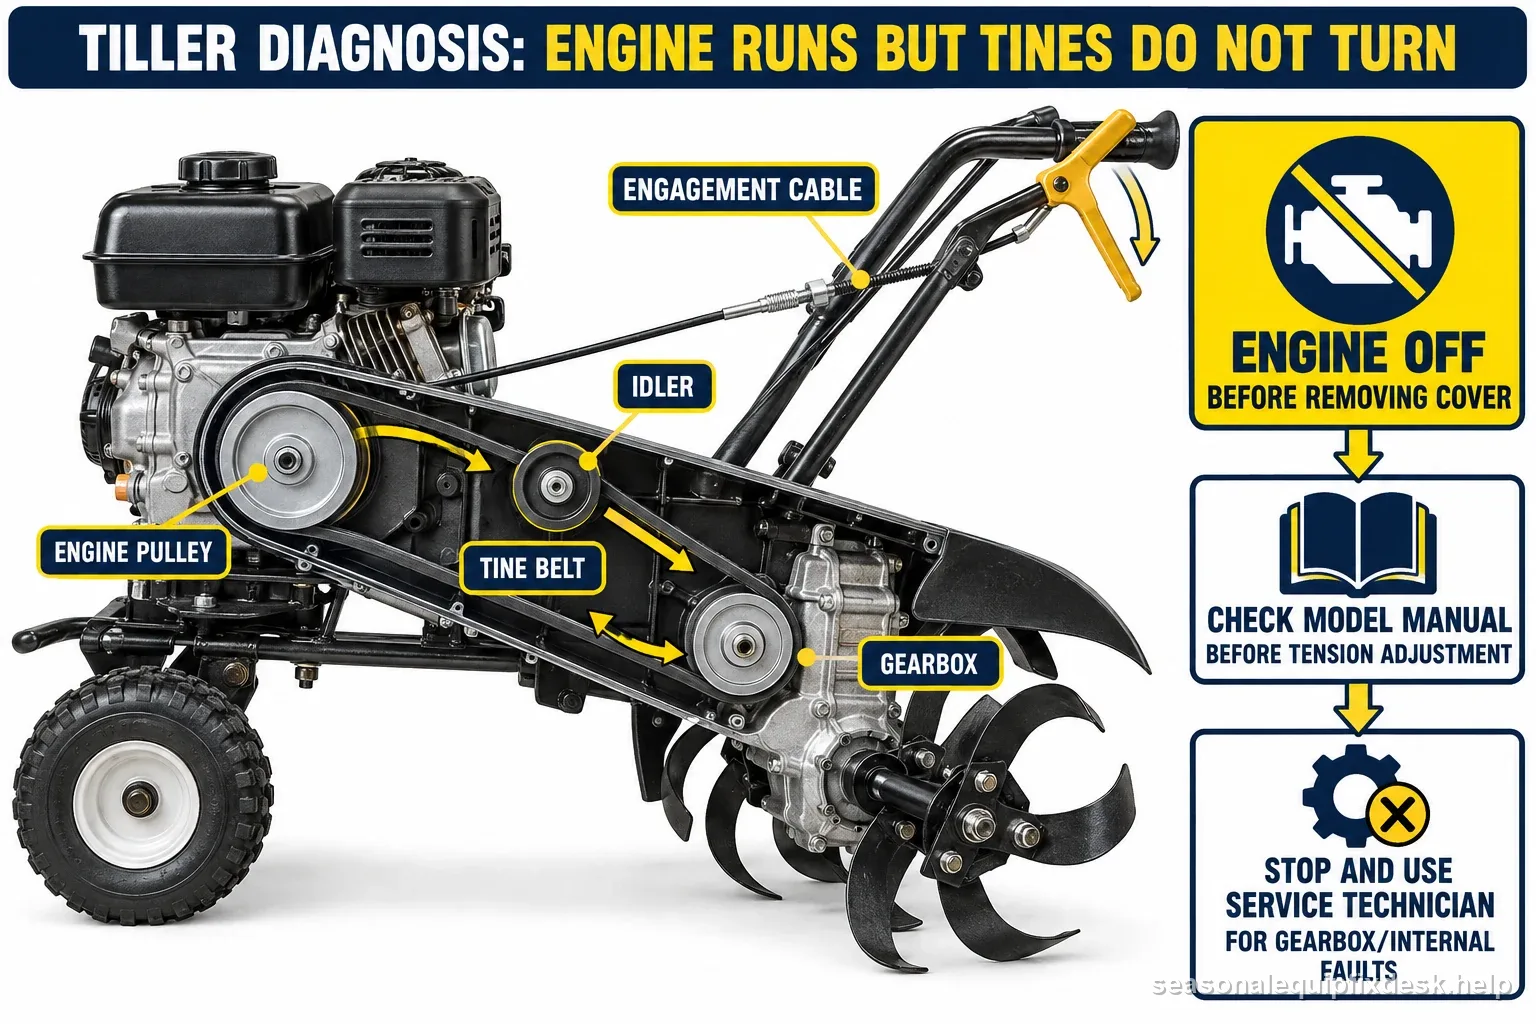
Leave internal gearbox checks to the manual or a technician
Not every tine gearbox has an owner-serviceable oil check or fill point. Do not open a sealed gearbox or add lubricant based on a generic capacity or oil grade. If your manual specifies a serviceable level check, follow its exact position, fluid, and interval. Grinding, a binding tine shaft, leaks, or a fault that remains after owner checks calls for service rather than continued operation.
Follow a safe diagnostic order
- Record whether the tines are fully still, slipping under load, or noisy/binding.
- With the machine off and stable, verify the tine control and inspect for visible wrapping.
- Use the model manual to identify the drive layout and safe owner checks.
- Inspect only the named external cable, belt, idler, coupling, or retainer.
- Replace parts only with the specified model-compatible parts, then reinstall guards.
- Stop and seek service for internal damage, leaks, persistent slipping, or repeat failures.
Repeated pin failure points to a cause
If the specified retainer breaks again, stop and inspect the work area for stones, roots, wire, or other obstructions. Confirm the machine is being used at the depth and speed described in its manual. Do not keep replacing pins or alter their size or strength to avoid a repeat failure; recurring breakage can signal an obstruction, incorrect setup, or drivetrain damage.
Front-tine, rear-tine, and mini-tillers differ
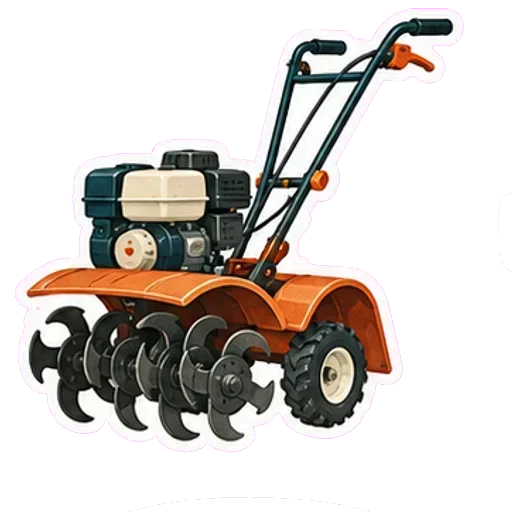
A rear-tine model may have separate wheel and tine drive paths; a compact cultivator may couple the engine directly to the tines and have no tine belt or clevis pin. Identify the model and the tine-drive path from its manual and parts diagram before ordering parts or removing a cover. A symptom that appears to be a belt fault on one design may be a control cable or coupling issue on another.
For persistent faults, give the service technician the model and serial number, what the tines did, which control was engaged, whether debris was present, and any visible belt, cable, or pin damage. This helps distinguish a control problem from a failed drive component without running the tiller with guards removed.
- Model and serial number
- Tines fully stopped, slipping, or noisy
- Control and visible obstruction checked with engine off
- Manual-specified cable, belt, or retainer inspected
- Exact damaged part and repeat-failure history
- Guards restored; unresolved internal fault referred for service